Categories

Blog posts about QNAP's products and technologies.
Do you feel that cloud storage is getting more and more expensive?
Over a decade ago, when public cloud services were just starting to become popular, there was a common misconception in the industry: “Cloud storage will keep getting cheaper.” However, reality has proved otherwise. A series of recent price hikes has effectively shrunk the usable capacity, leaving many users struggling to keep up. For those who have grown accustomed to putting all their eggs in one basket, it can even feel like being trapped into a costly setup.
What can we do? Public cloud services still offer convenience. Services like iCloud, Google Drive, OneDrive, or Google Photos are tightly integrated with our mobile or desktop operating systems, making them difficult to avoid completely. That’s okay. We don’t need to stop using these services. Instead, we can reduce our dependence on these services and save money in the process.
In reality, building a hybrid public-private cloud is the safest and most reliable approach. It not only helps diversify risk but also offers greater flexibility in cost management. We can develop the right cloud data configuration strategy by considering the following key points that suits our needs:
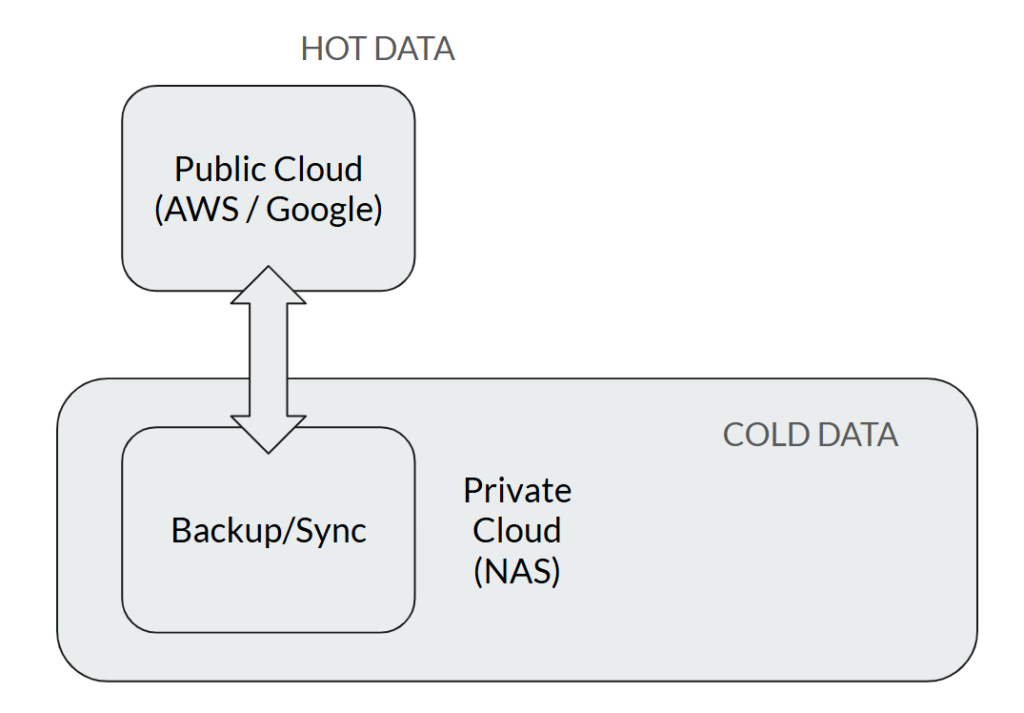
1. Public Cloud: Store frequently accessed hot data
Many users tend to store all their data on cloud drives, but in reality, only a small portion is accessed frequently. Public cloud storage is the most expensive, so we can streamline its usage by moving less frequently accessed data back to private cloud devices.
2. Private Cloud: Maximizing the return on storage investment
Hard drives are relatively inexpensive today, making investment in a NAS a more reliable approach. Once we purchase the drives, the storage space is ours for good. In addition, with the long lifespan of modern hard drives, this can be far more cost-effective than renting the equivalent capacity in the cloud.
3. Keep Our Files Under Our Control
Files stored on public cloud drives are often subject to “oversight” by the service provider and can sometimes be mistakenly removed for allegedly violating usage policies. For important files, storing them on our own NAS is the safest option.
Now that we’ve got the concept, how do we put it into practice?
In the past, building a hybrid cloud required a certain level of technical expertise and manual steps, which could easily discourage average users. But now, QNAP’s hybrid cloud solution can handle this task “with a single click”. It not only allows we to move data from AWS or Google Drive back to the NAS, but also supports two-way synchronization. All we need to do is remember to adjust our cloud service subscriptions and enjoy the cost savings.
Anyone with a QNAP NAS can now use Hybrid Backup Sync for free to back up and sync data across multiple clouds, a feat that used to be out of reach for most users. Try to think about it: different cloud services normally require their own APIs to connect, but now QNAP’s engineers handle all that complexity. All we need to do is decide where to back up and sync our data.
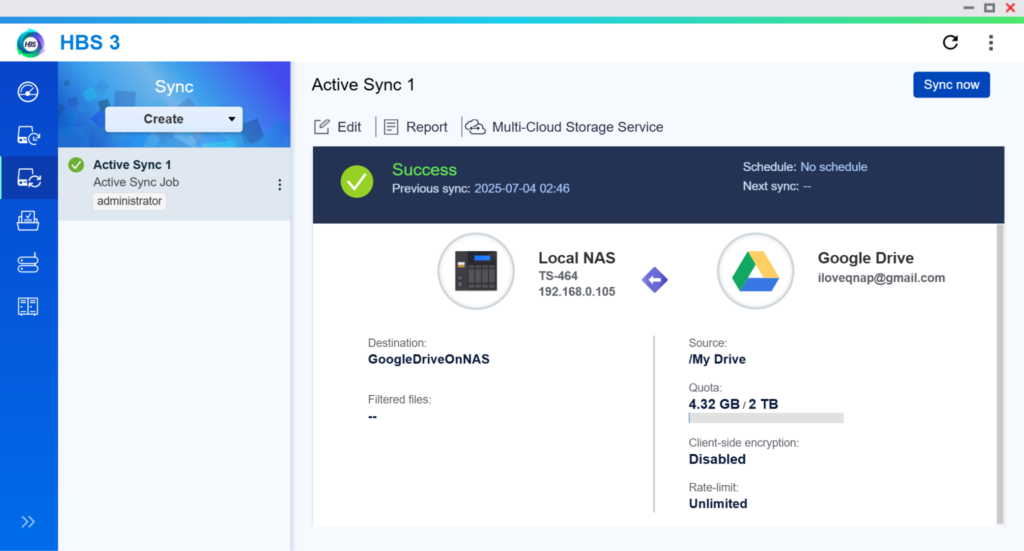
For example, if the user is new to NAS and wants to move 2TB of data from Google Drive to the NAS, simply open the “HBS File Backup & Sync Center”, enter the Google Drive account credentials, and select the destination folder on the NAS for the backup. The NAS will handle the transfer in the background, and the computer doesn’t even need to be turned on.
Of course, if users already have a local Google Drive sync folder on their computer, they can simply move those files directly to the NAS. HBS will automatically compare and synchronize the data, saving even more time.
After completing the migration from the Google Drive, the next step is to adjust the cloud storage subscription plan. For example, if we previously subscribed to 2TB on Google Drive and now want to downgrade to 100GB, simply organize the 100GB of data into a single folder and sync it with the corresponding folder on the NAS. We’ll still be able to access these files on the public cloud as usual.
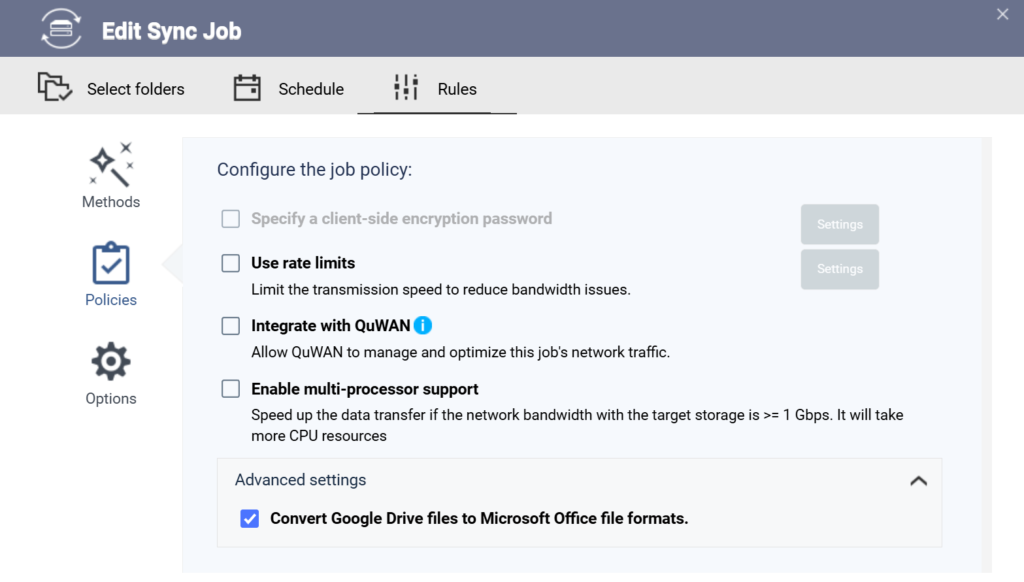
What if there are many Google Docs or Google Sheets files in Google Drive? QNAP NAS will automatically convert these files into Microsoft Office format, allowing seamless editing without additional steps.
Then, what about Google Photos? Since Google Photos and Google Drive were separated in 2019, backing up Google Drive data no longer includes Google Photos. But no worries. Using the export feature of Google Takeout to export our photos is still very straightforward. Plus, it’s a great opportunity for us to clean up redundant images, which is much easier than deleting them one by one directly in Google Photos.
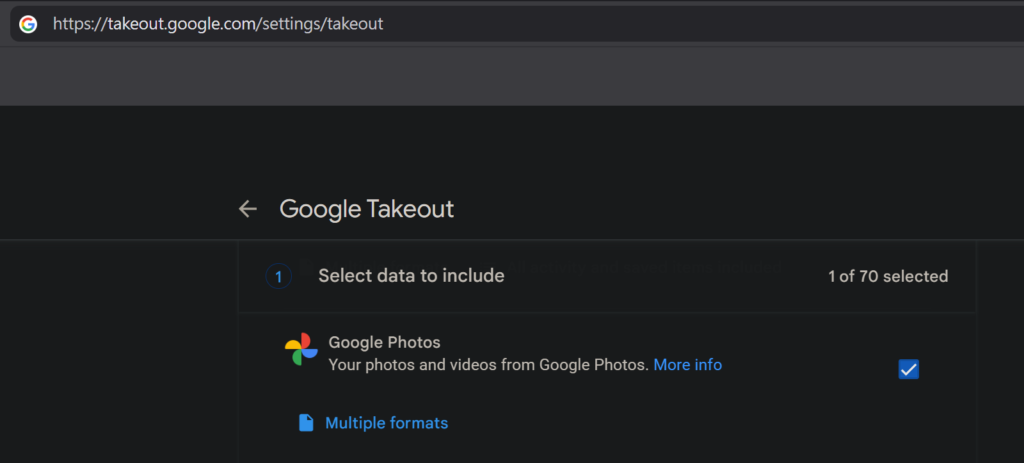
After logging into your Google account, go directly to https://takeout.google.com/manage to choose which data you want to export. Here, you can directly select Google Photos.
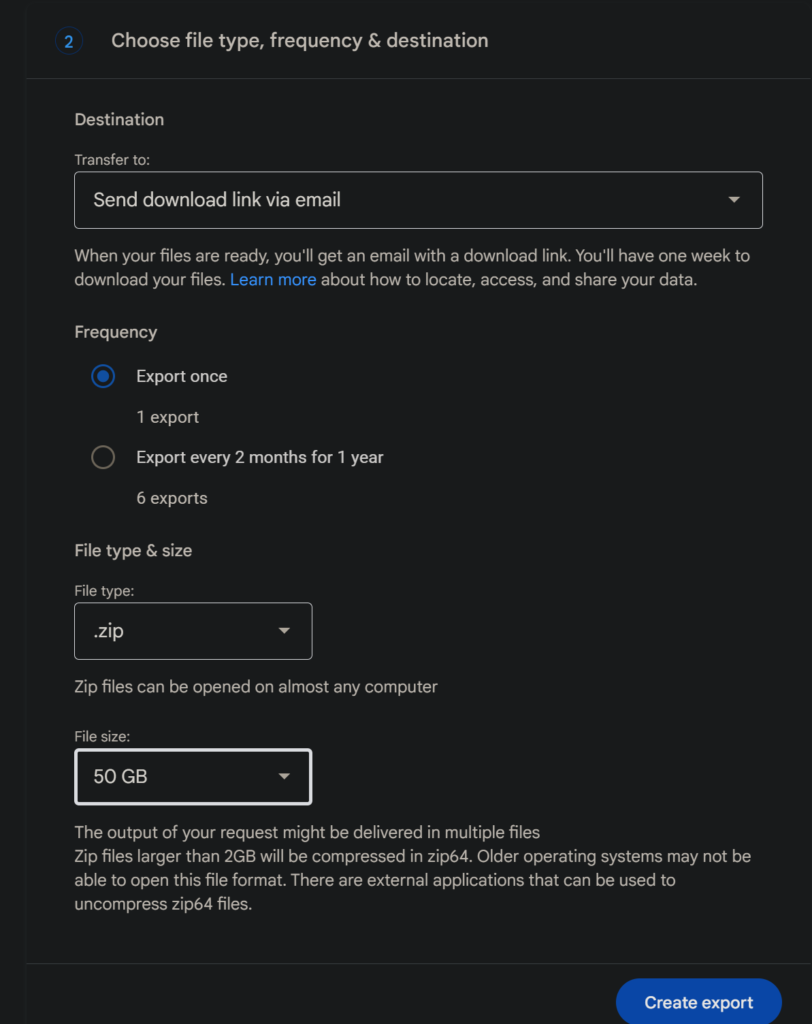
The next step is to decide where to store the exported data. Preparing the export can take some time, so it’s best to have the download link sent to a designated email address once the process is complete. It’s also recommended to set the file size per download to 50GB, which makes extraction much easier.
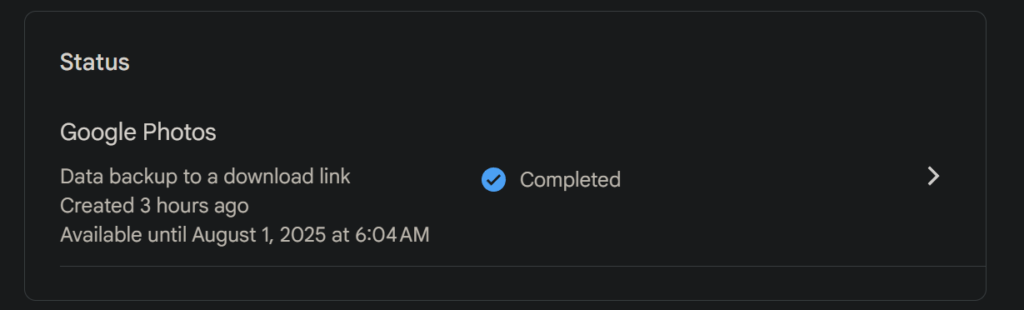
Once the export task is created, the processing time will vary depending on the amount of data in the photo library. Typically, for data under 1TB, the export can be completed within a day, and you will receive the download link.
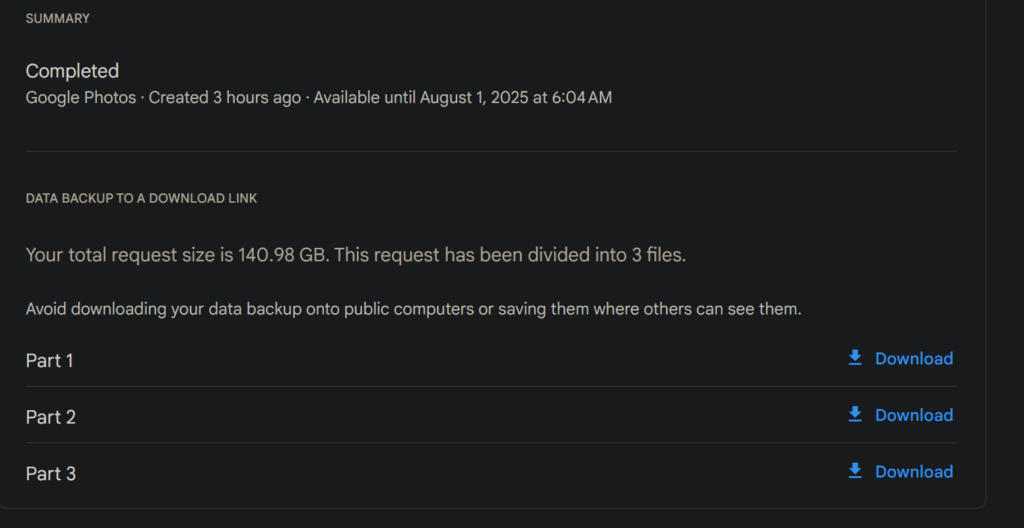
If you don’t receive the download link via email, you can also return to the Google Takeout webpage to download the export package of your photos.
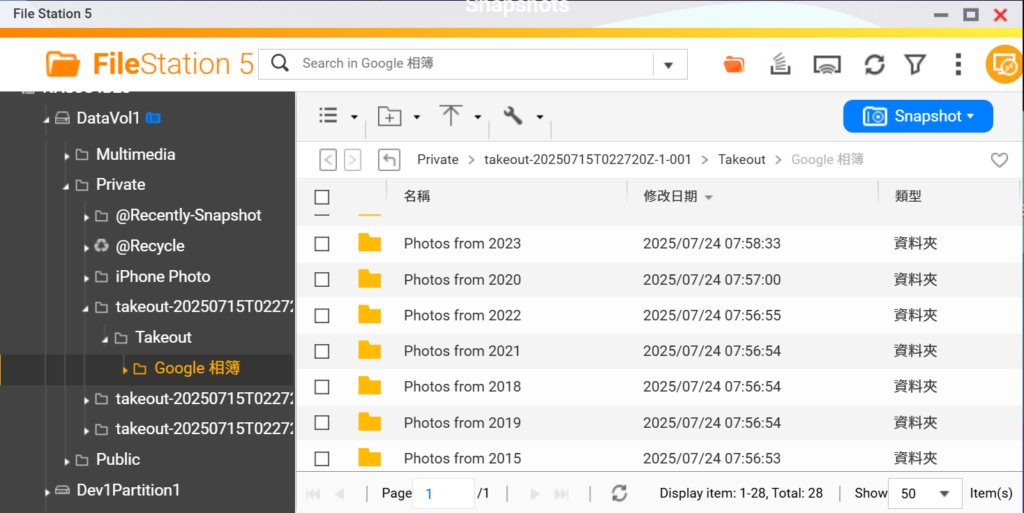
Once you open the files, you’ll see the photos and folders organized in a very intuitive way. You can either open the files with QuMagie or import them into File Station, both methods work without issues. However, in the end, you’ll still need to manage your photos through QuMagie, so it’s recommended to install the app on your NAS first.
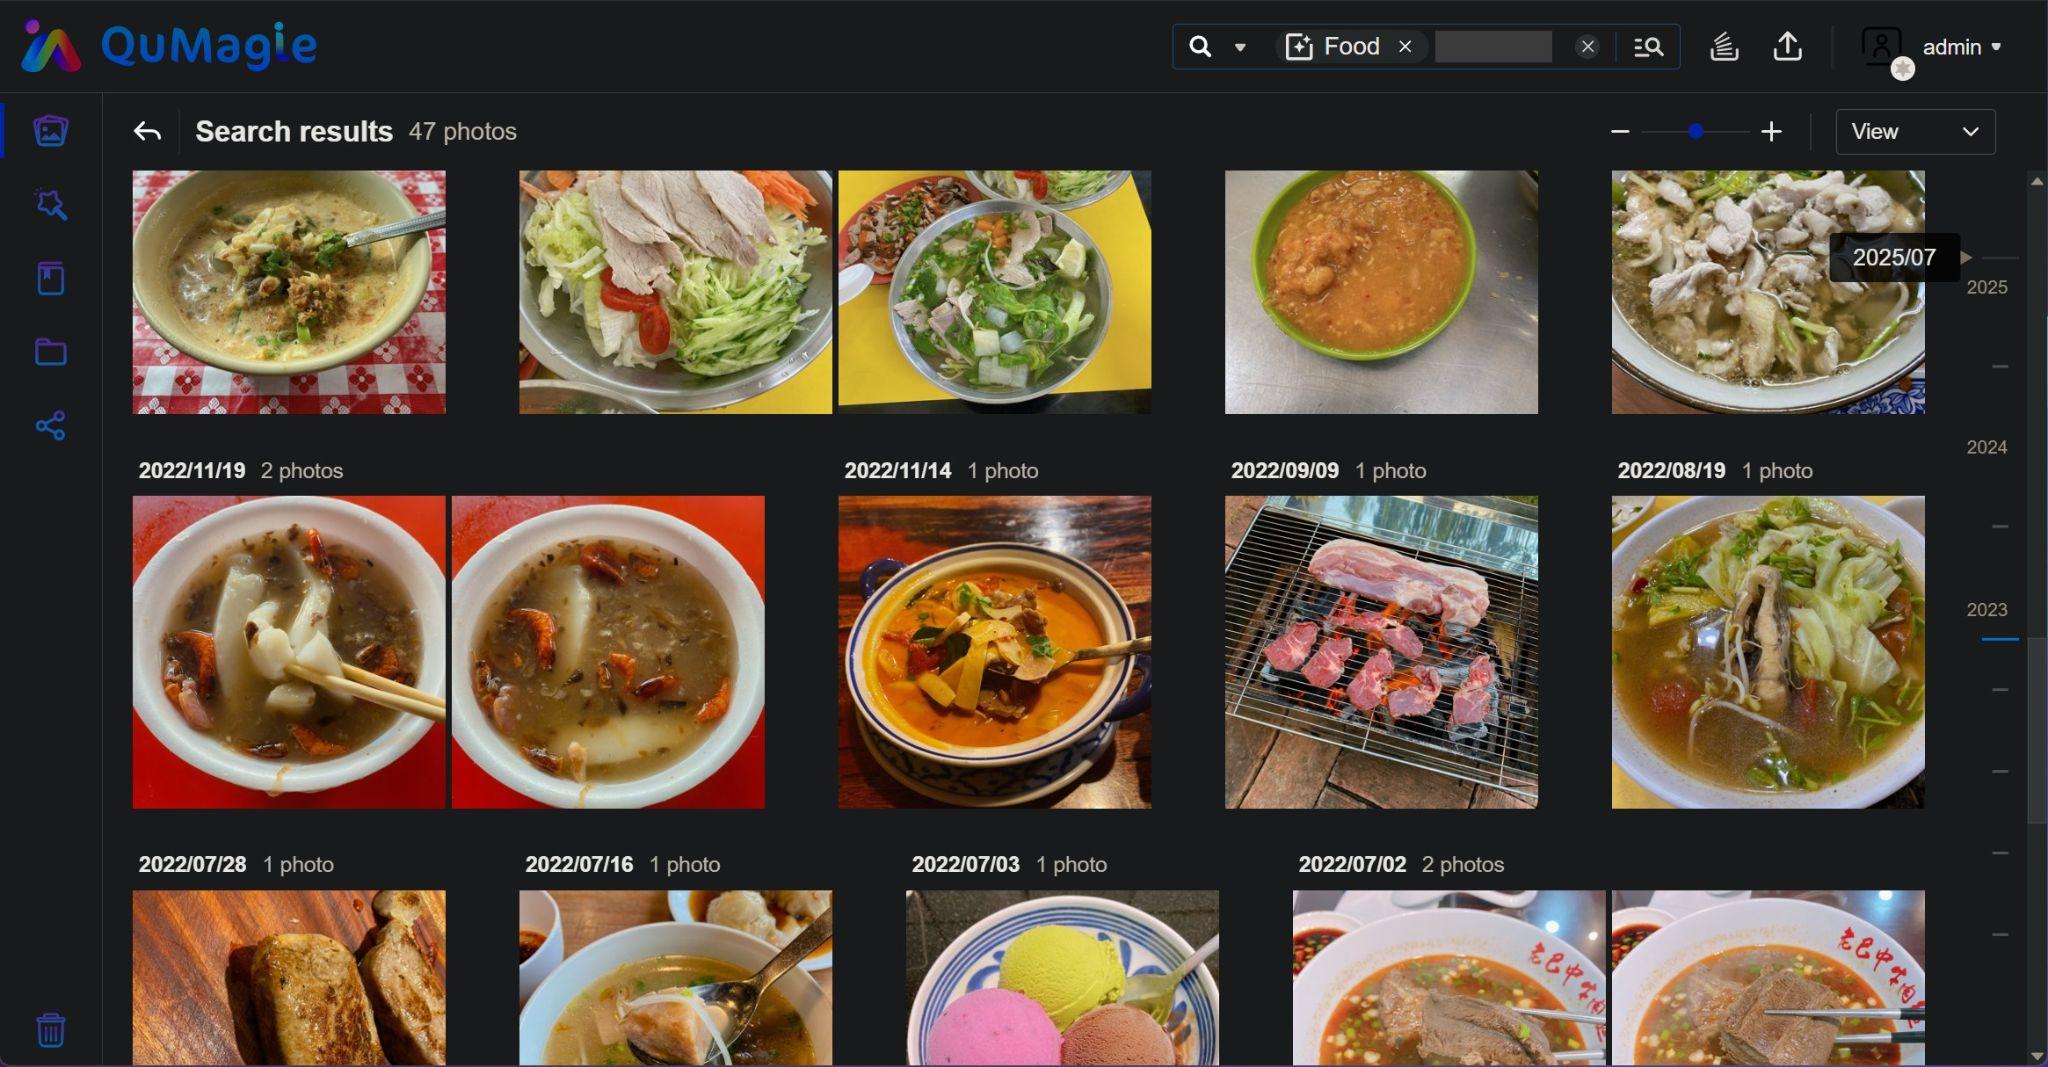
Once QuMagie’s AI features are enabled, it can recognize faces and objects, with categorization and search capabilities on par with Google Photos.
If you want to back up photos from iOS or Android devices, QuMagie can handle it for you. QuMagie can fully replace Google Photos’ functionality, including face recognition and automatic photo uploads from your mobile device to the NAS. Photos or videos taken on your iPhone or Android devices will be backed up to the NAS. Even if your phone runs out of storage, as long as QuMagie is installed, you can still access your photos and videos on the NAS anytime, anywhere.
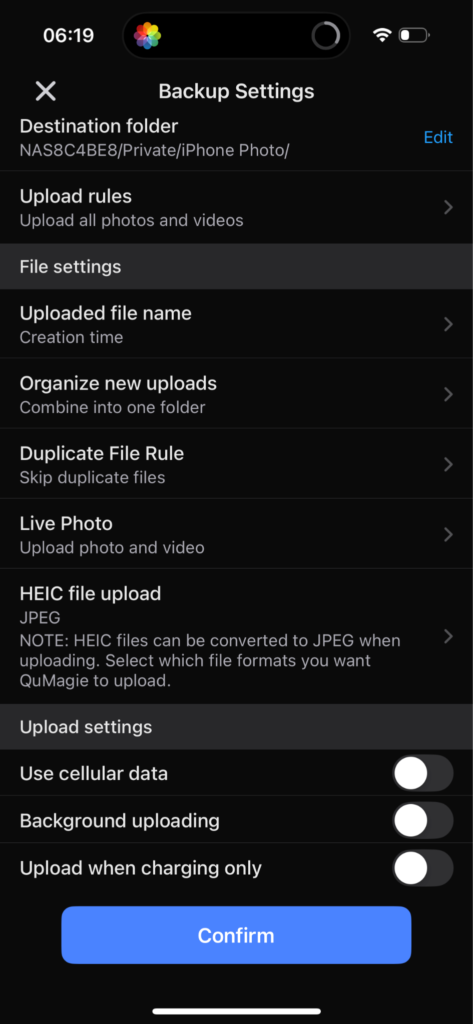
The QuMagie app lets you set rules for multimedia uploads and can also convert iOS HEIC files directly into JPEG format.
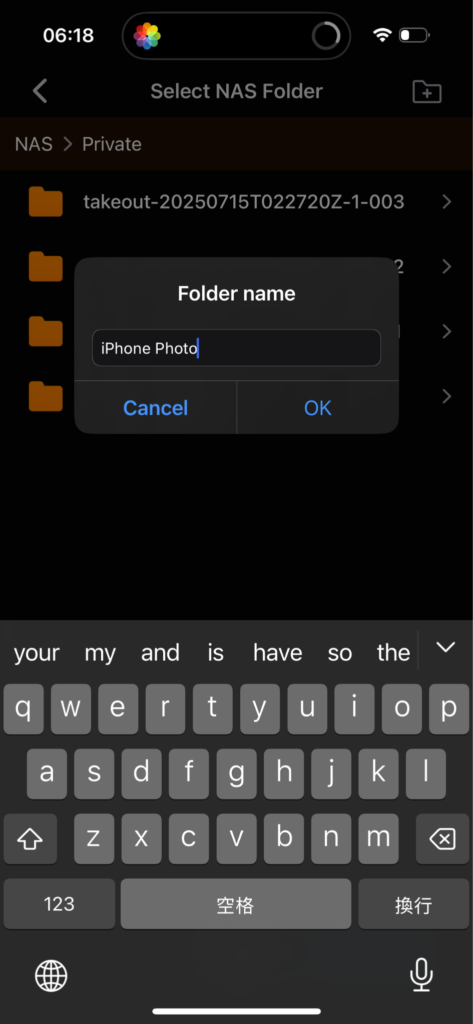
You can create a dedicated folder for your mobile photos directly from the app.
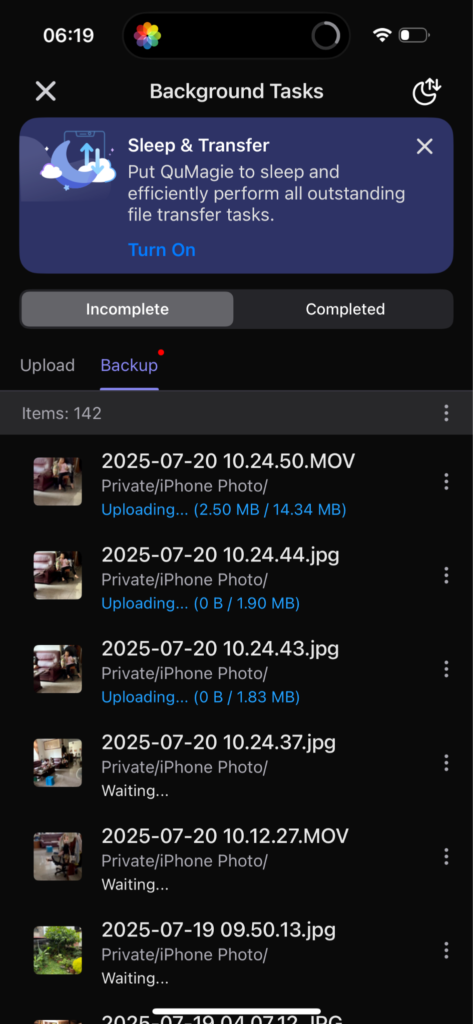
Once set up, the app runs in the background until synchronization is complete.
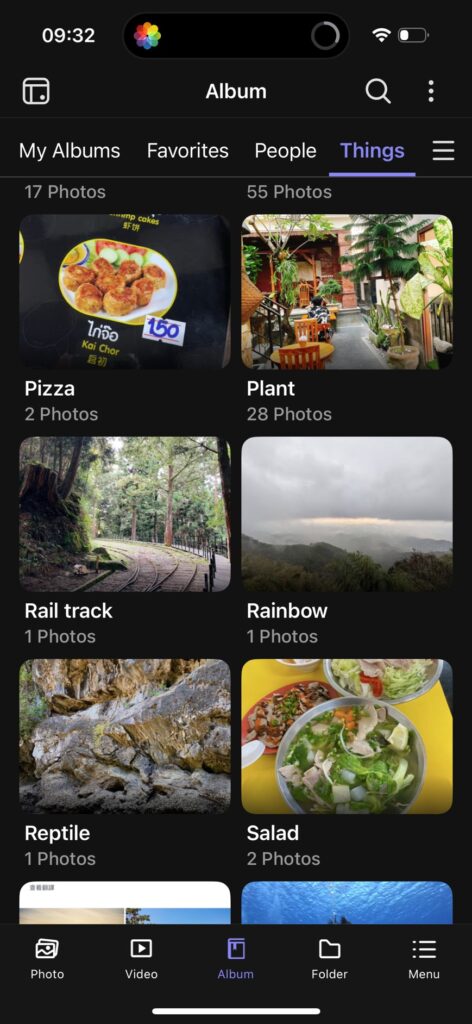
The app can also categorize photos by objects, making it very convenient to view them directly on your phone.
Convenience is one thing, but is it really more cost-effective to move all data from the public cloud back to NAS?
Based on an estimate of hard drive prices in Taiwan in 2025, a 2TB 3.5-inch hard drive costs approximately 2,000 NTD. A 2TB Google One subscription costs about 4,000 NTD per year, while iCloud is around 3,600 NTD per year. If the subscription is not renewed, a hard drive will still be needed to store all that data.
By purchasing a NAS and hard drives upfront, a QNAP NAS can fully replace Google Drive and iCloud for photo and file backups. It also provides a high degree of data autonomy, eliminating concerns about important files being inaccessible or the security of public cloud accounts.
NAS also offers greater flexibility for sharing storage with friends or family. Not only can it accommodate more users, but it also allows you to set precise storage limits for each person. Whether for a household or a small studio, this is an effective way to spread out hardware costs.