Categories
Blog posts about QNAP's products and technologies.
As IoT cameras become increasingly widespread, the data leakage risks hidden behind their convenience are also coming to light. News reports have frequently highlighted incidents such as security vulnerabilities in the Louvre’s surveillance systems, as well as footage from household robot vacuum cameras being uploaded to the cloud. At present, many consumer-grade surveillance systems upload video footage to the cloud, which may expose users to privacy breaches or service interruptions.
For enterprises and individuals that place a strong emphasis on cybersecurity and require reliable long-term video retention, QNAP QVR Surveillance offers an ideal solution. As a video surveillance recording software platform available on QNAP NAS, it allows users to easily search for footage and replay recordings. In addition, users can securely access camera footage on Windows and macOS via separately downloaded client software.
By deploying the Video Management System (VMS) on a local NAS and leveraging the ONVIF standard, QNAP QVR Surveillance enables efficient and secure centralized management of surveillance cameras across offices, factories, and homes. This setup ensures all security logs are stored within a private cloud, meeting the highest standards by preventing data leakage to third-party cloud services and eliminating the risks such as hacking incidents or unauthorized access by rogue cloud administrators.
Deploying a professional VMS system might have required complex configurations in the past, but QNAP QVR Surveillance is designed to be highly user-friendly.
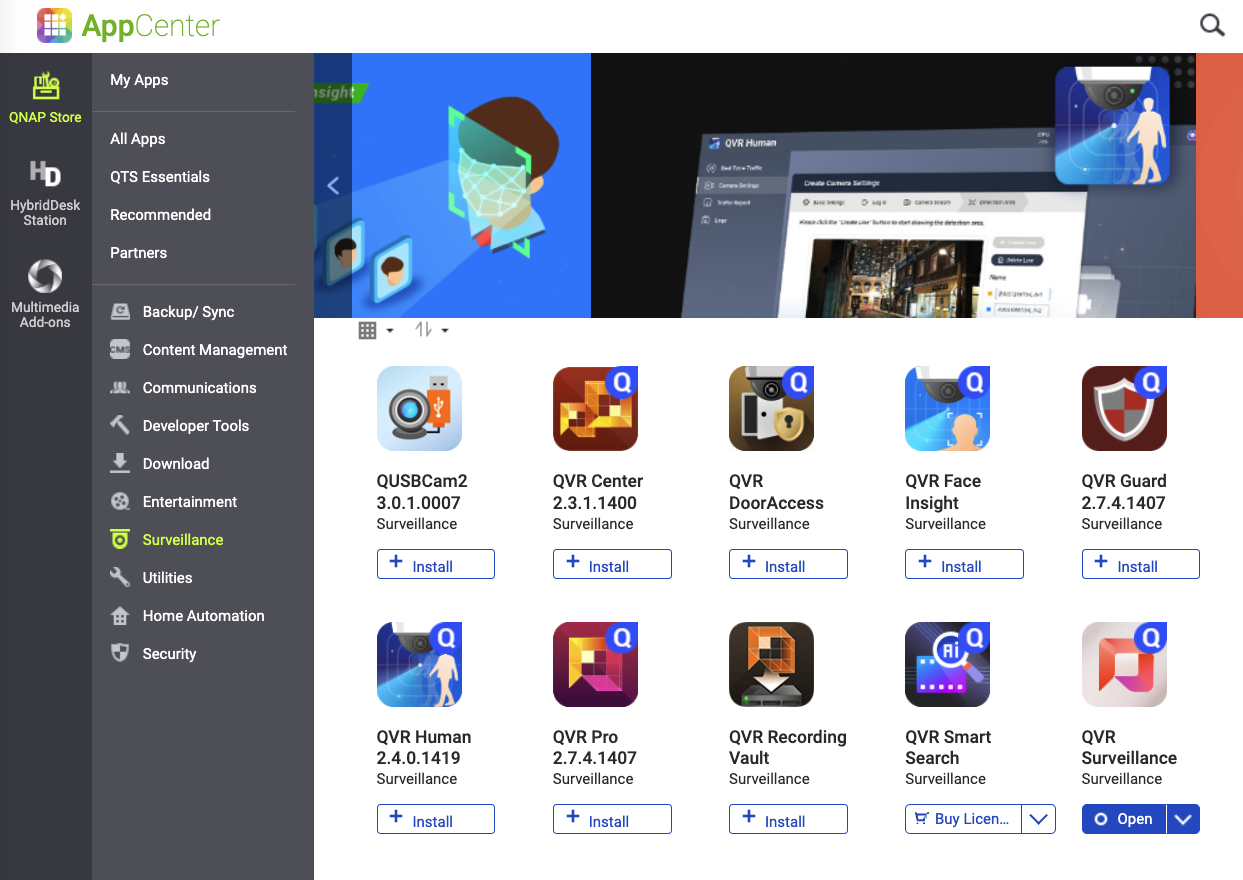
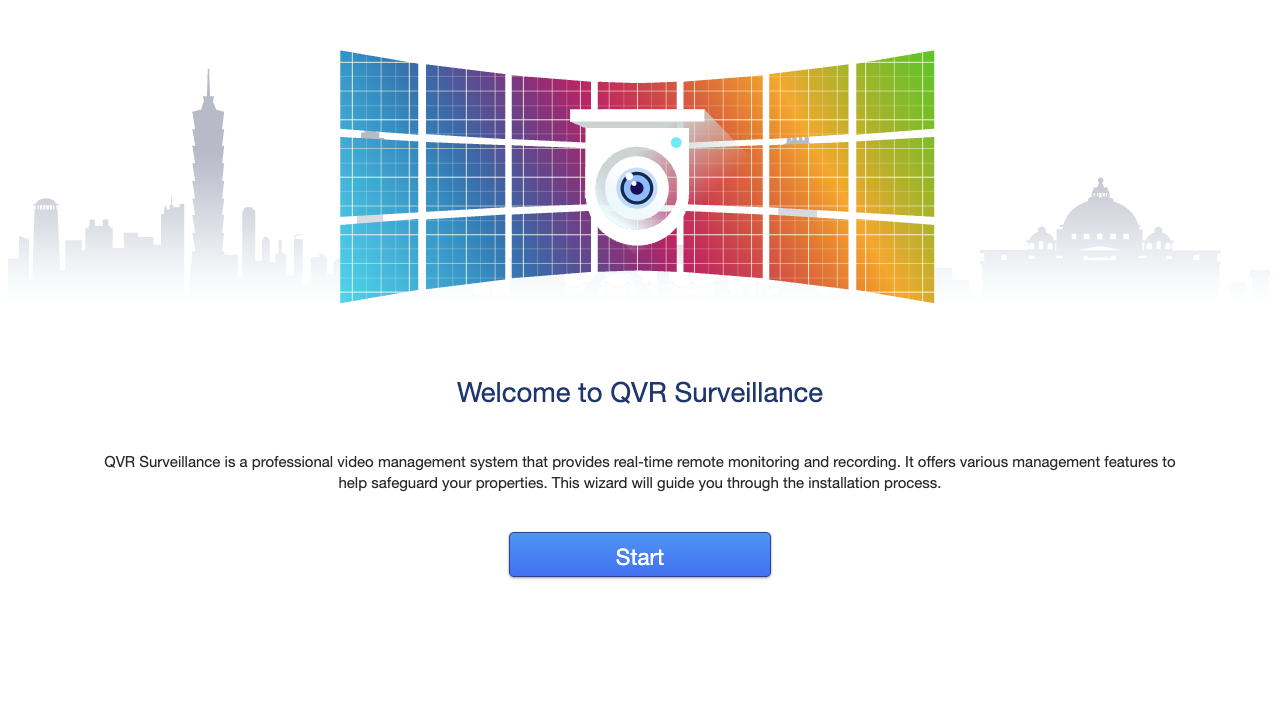
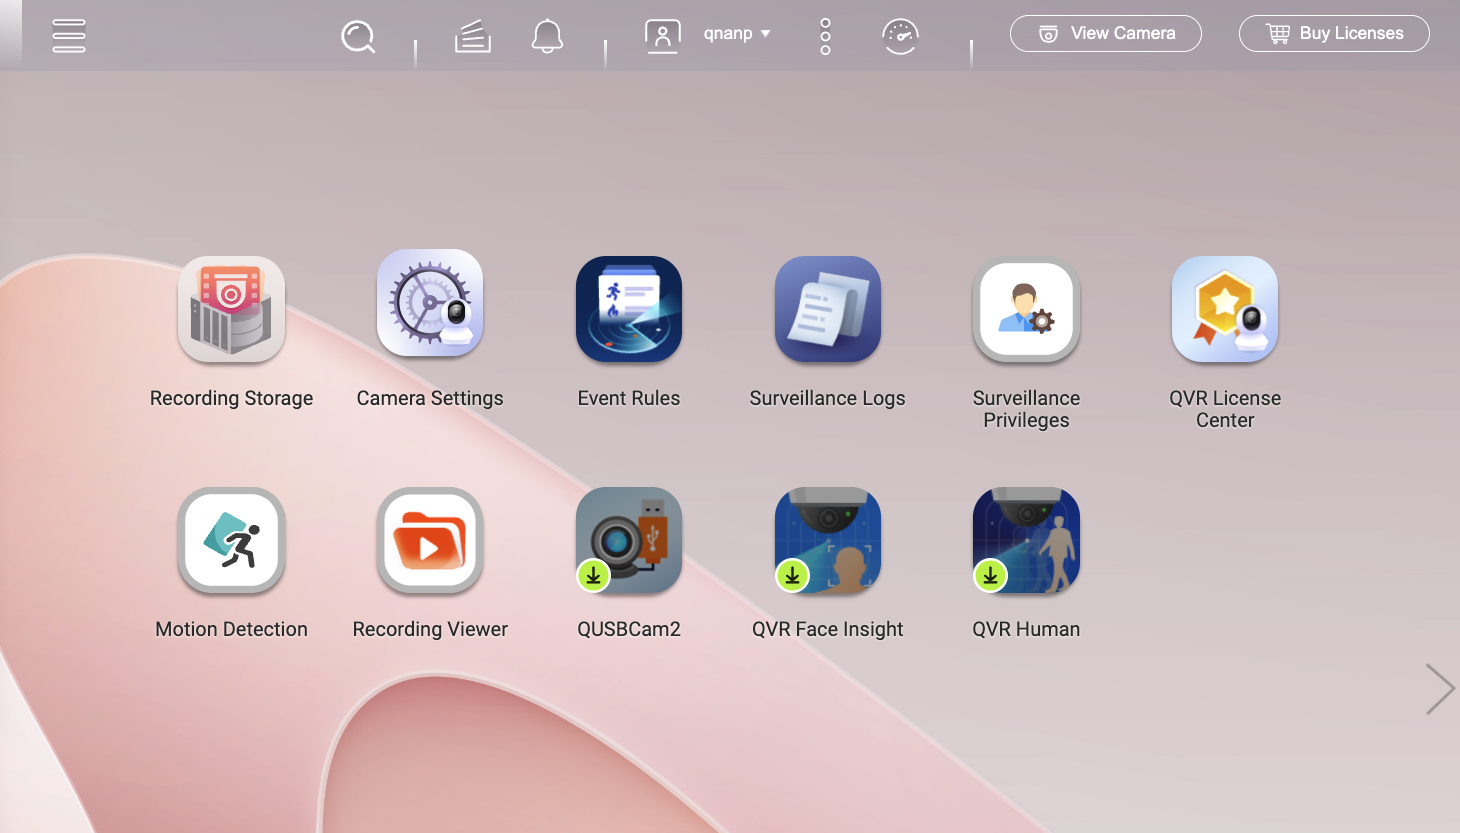
Installation and Startup: From the App Center, as shown above, locate and launch QVR Surveillance, then click “Start” to initiate the setup process.
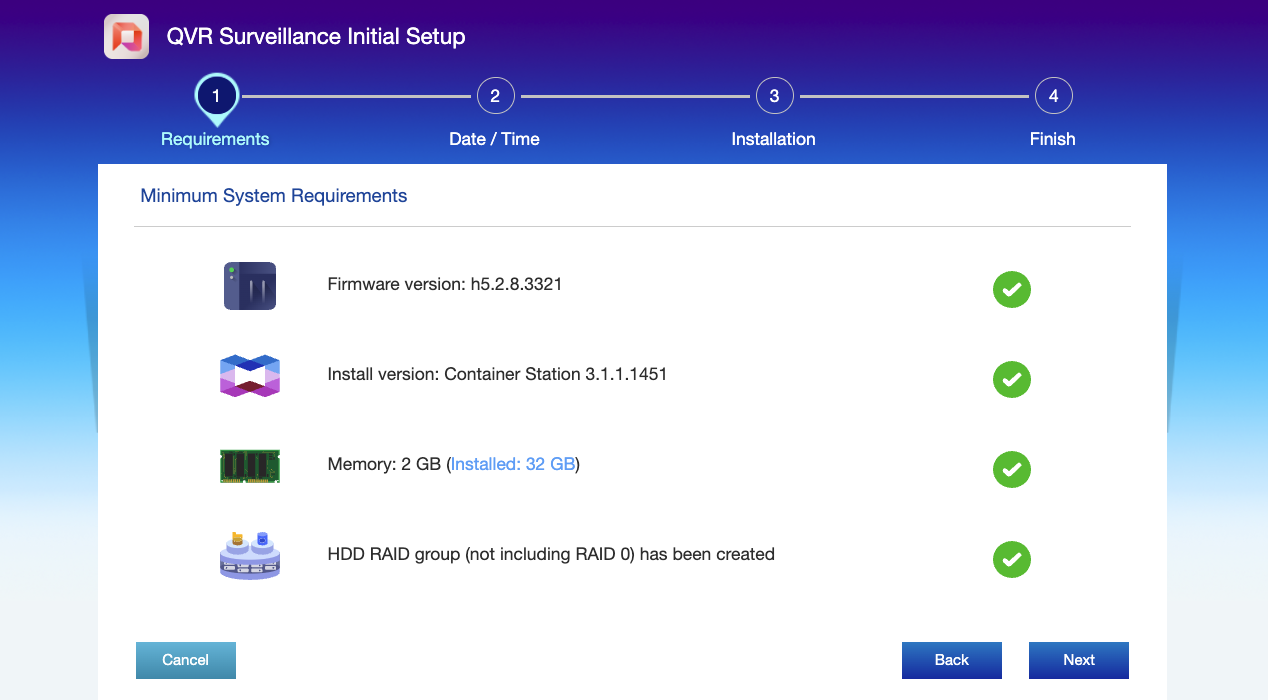
System Check: The system automatically checks the minimum requirements, ensuring that the operating system version, Container Station, memory, and HDD RAID groups all meet the necessary criteria, laying a solid foundation for stable surveillance services.
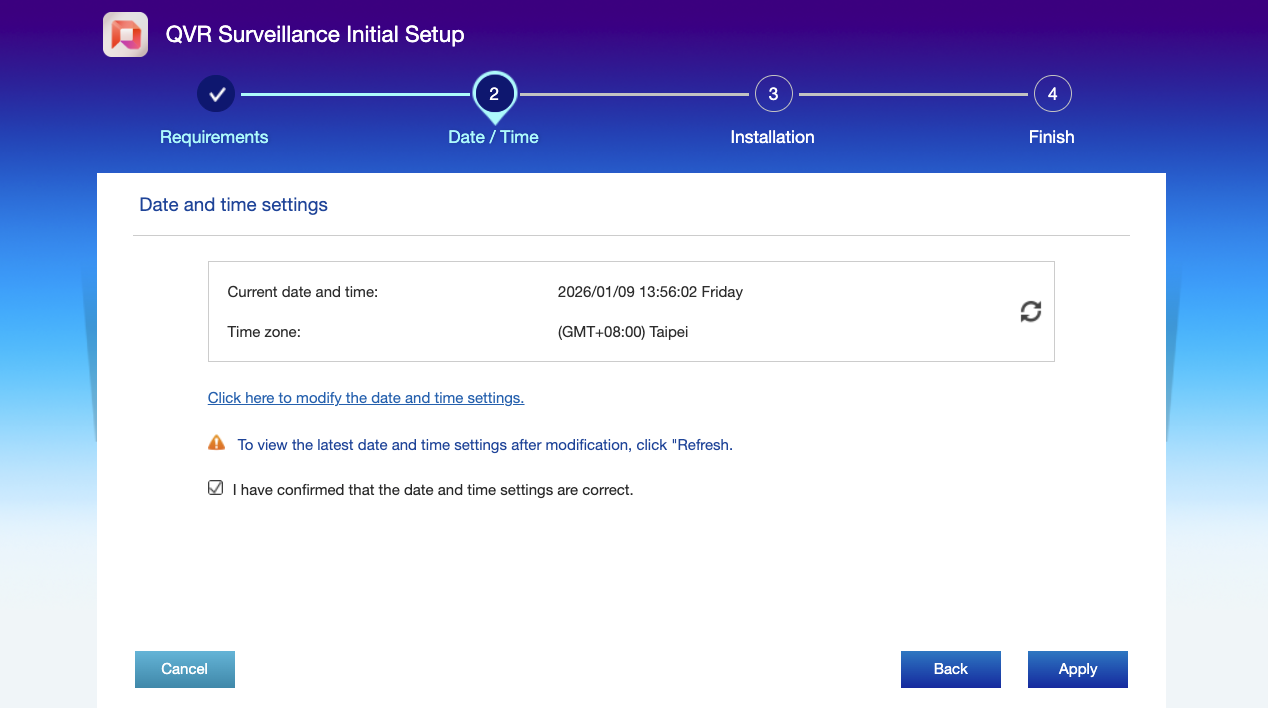
Basic Configuration: Confirm the date/time and time zone settings, which are essential for accurately recording event timestamps.
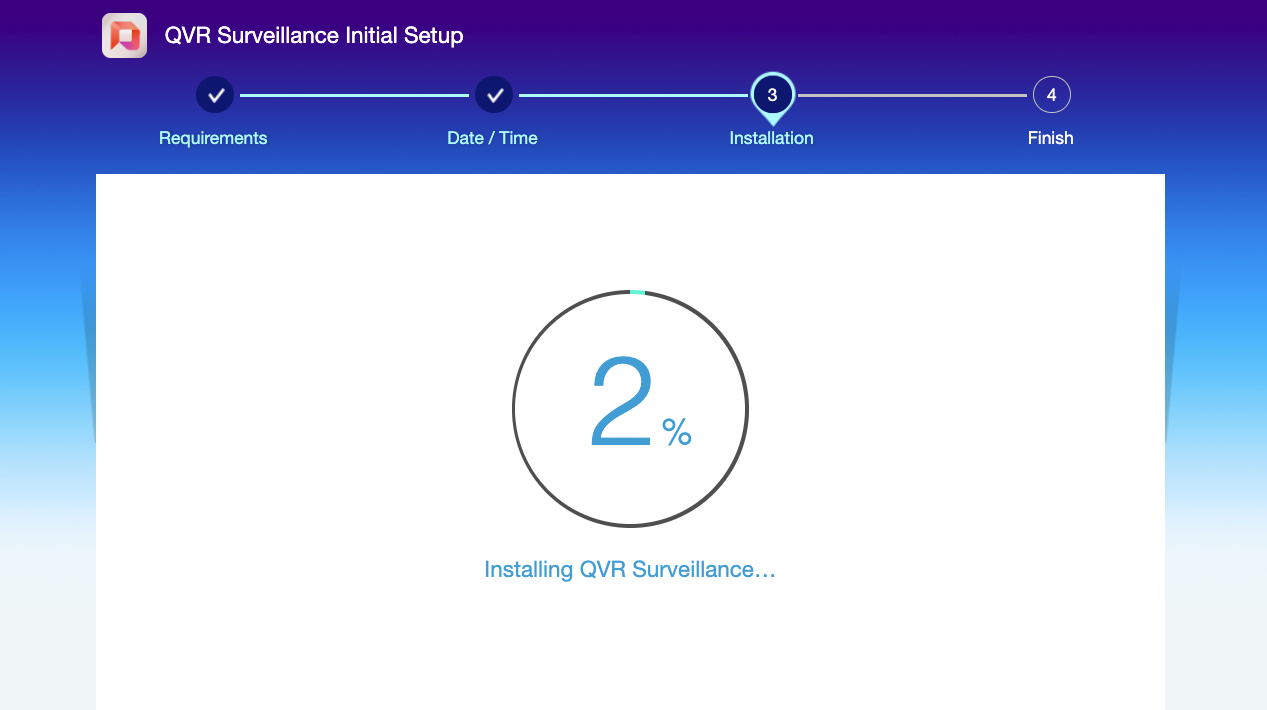
Next, wait for the system to complete the installation.
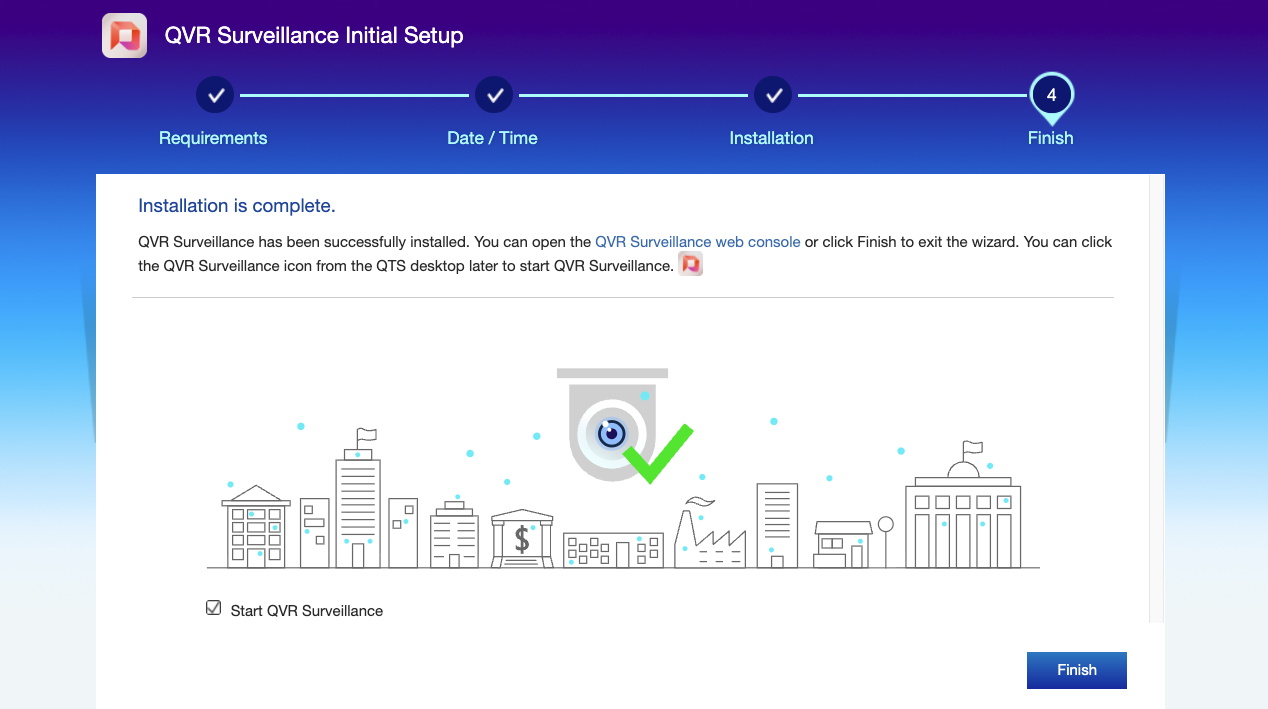
Completion and Launch: After a few minutes, QVR Surveillance will be successfully launched and enter the main console:
Data storage is a critical component of cybersecurity. QVR Surveillance places strong emphasis on the management of recording storage, ensuring that video data remains fully under our control at all times. By default, a standard QVR Surveillance installation supports the management of up to two surveillance cameras. Users can additionally claim six extra channels online, allowing a total of up to eight cameras to be managed, which is sufficient for most environments. For deployments requiring support for a larger number of cameras, users need to purchase and install upgrade licenses to expand the number of supported channels.

Local Storage: On the “Recording Storage” page, you can view the available capacity of the NAS (for example, 4,279.67 GB as shown in the image) and allocate dedicated storage space specifically for surveillance recordings.
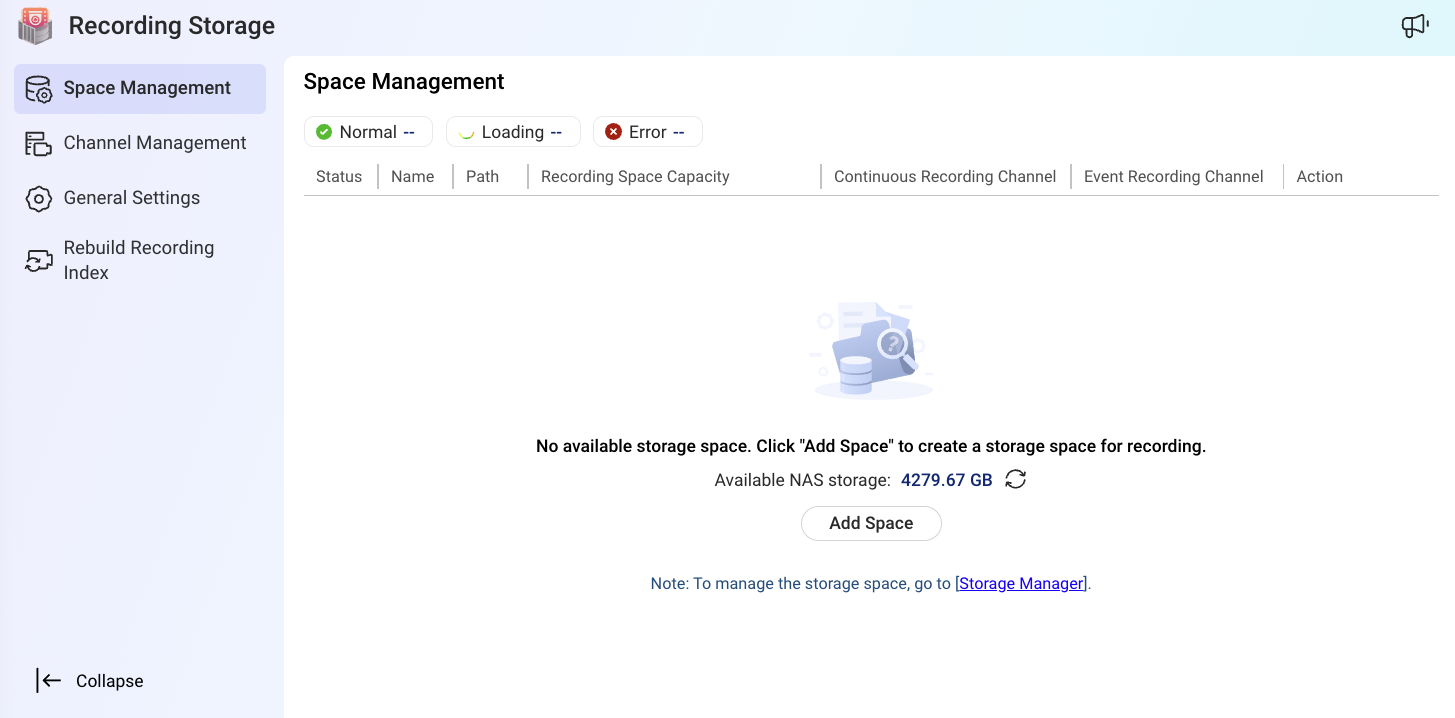
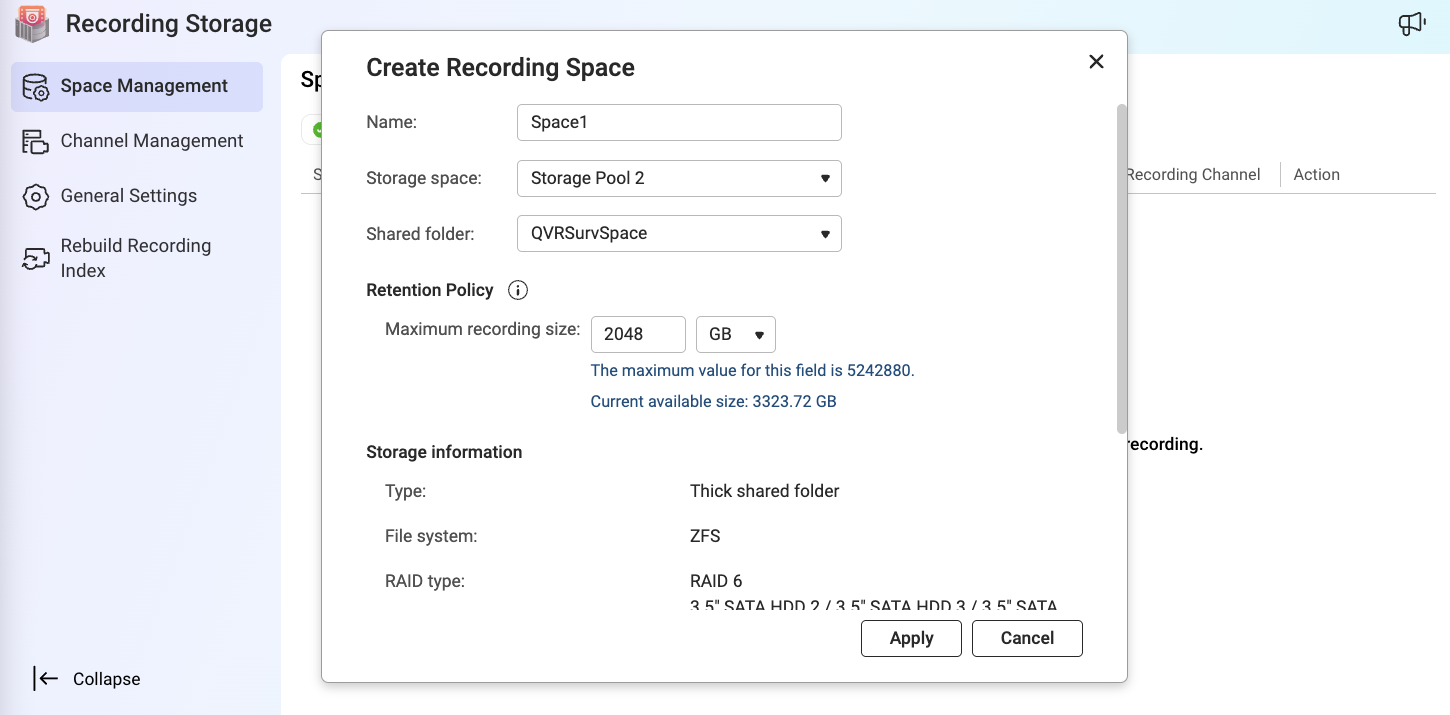
Precise Allocation and Management: Existing folders can be designated as storage locations for recordings, with the maximum capacity clearly defined. This goes beyond simple storage management—it is a true realization of data sovereignty, ensuring that no footage leaves the local NAS without explicit authorization.
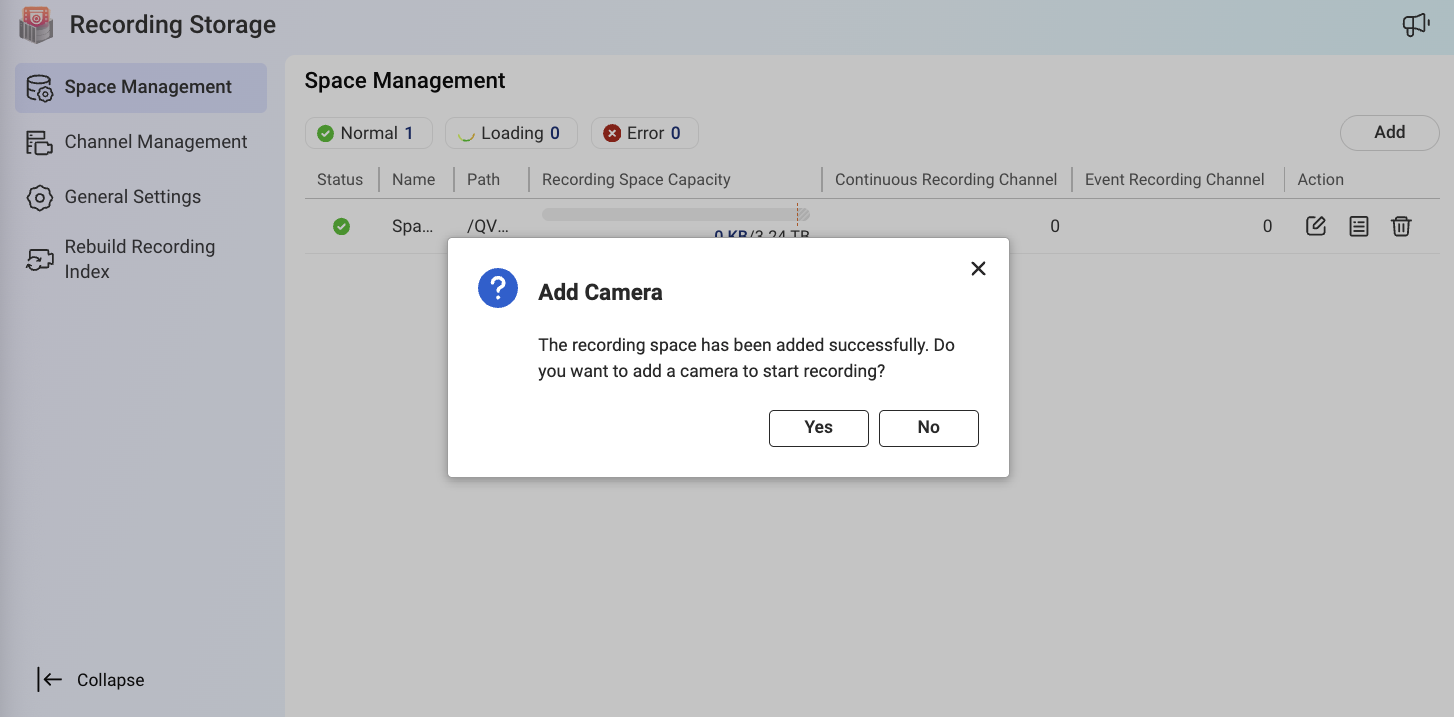
After the recording storage configuration is successfully completed, the system will prompt you to proceed with backup volume and camera settings. This is a critical step, as it ensures primary storage for video data and prepares the system for adding cameras. As shown in the image, Space1 is ready, and all data will be securely retained on our local NAS.
QVR Surveillance supports a wide range of camera protocols, with particularly strong compatibility with the ONVIF (Open Network Video Interface Forum) standard.
Open Compatibility: ONVIF is a global open standard that enables IP products from different manufacturers to work seamlessly within a surveillance system. This frees users from being locked into a single camera brand, allowing them to choose devices flexibly based on budget and feature requirements.
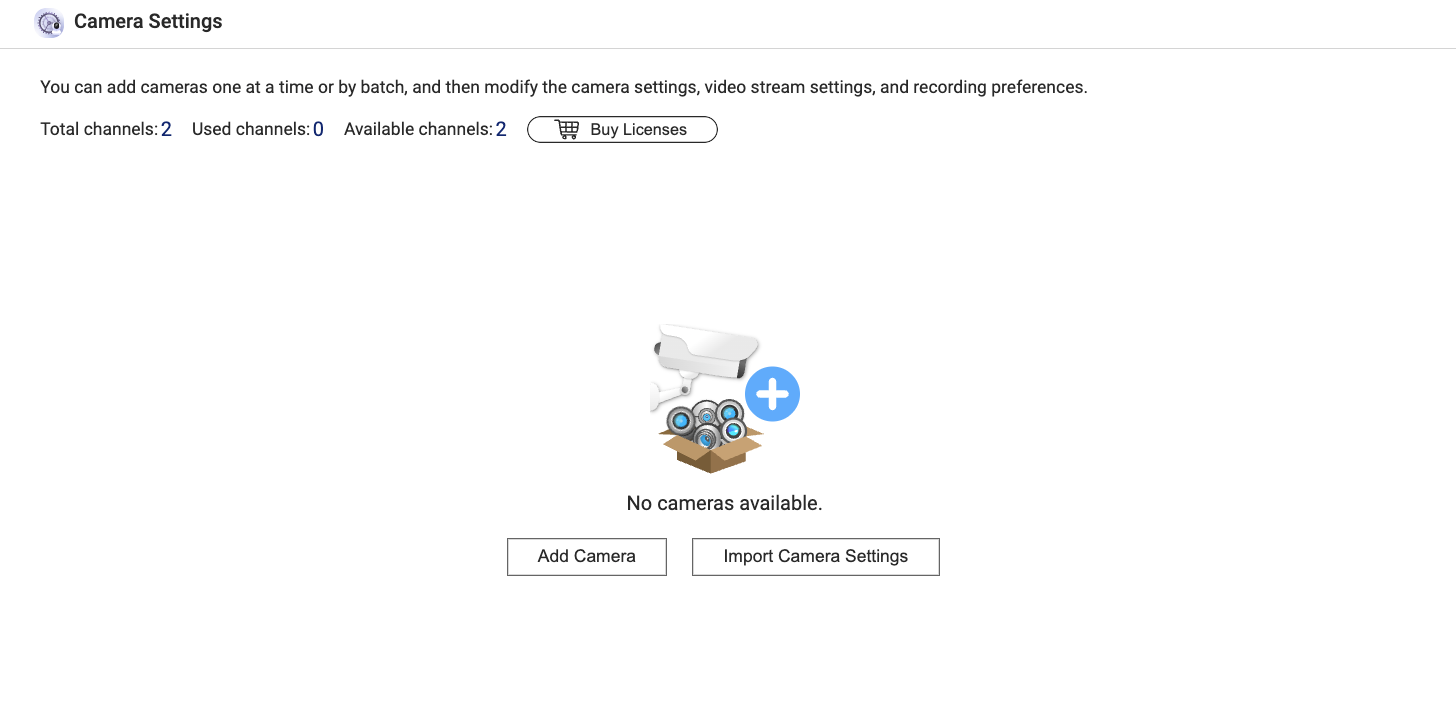
Easy Integration: In the “Camera Settings” section, simply click “Add Camera” to begin integrating ONVIF-compatible devices into QVR Surveillance for centralized management. The total of two channels shown in the image represents the system’s licensed capacity. Even if no cameras are currently installed, additional cameras can be easily added at any time.
Data Remains Local: Through the ONVIF protocol, camera video streams are transmitted directly over the local network to the QVR Surveillance server (NAS), without passing through external servers or unsecured cloud services. This fundamentally reduces the risk of video data being intercepted by third parties during transmission.
QVR Surveillance offers an intuitive and professional camera management workflow while supporting open standards such as ONVIF, ensuring that the surveillance system is both secure and highly compatible.
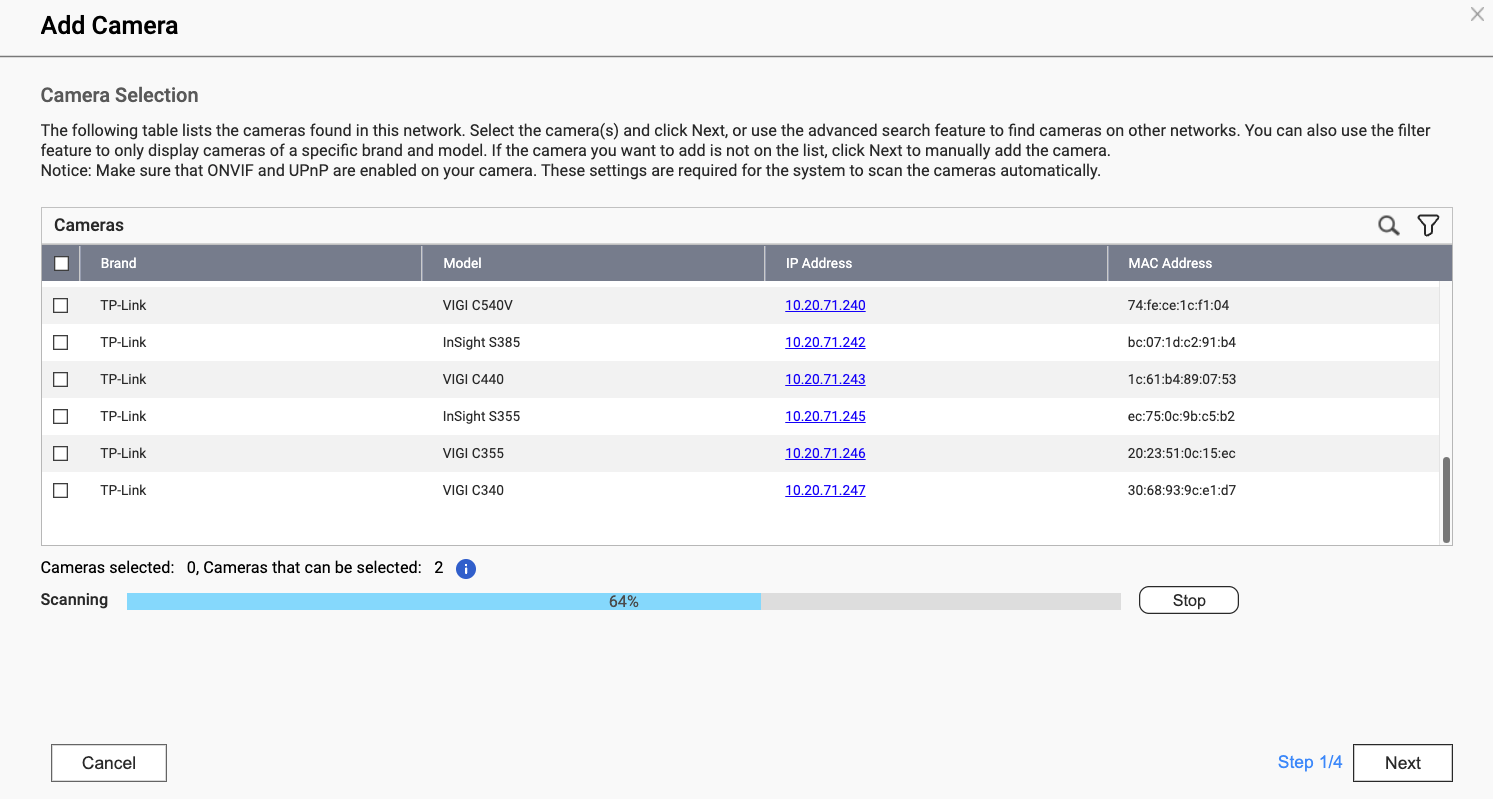
1. Automatic Discovery and Connection Testing
Automatic Scanning: After clicking “Add Camera”, QVR Surveillance automatically searches the local network for available cameras, listing their manufacturer, model, and network address. In this example, it detected devices such as the TP-Link VIGI C340, demonstrating strong support for mainstream ONVIF-compatible equipment.
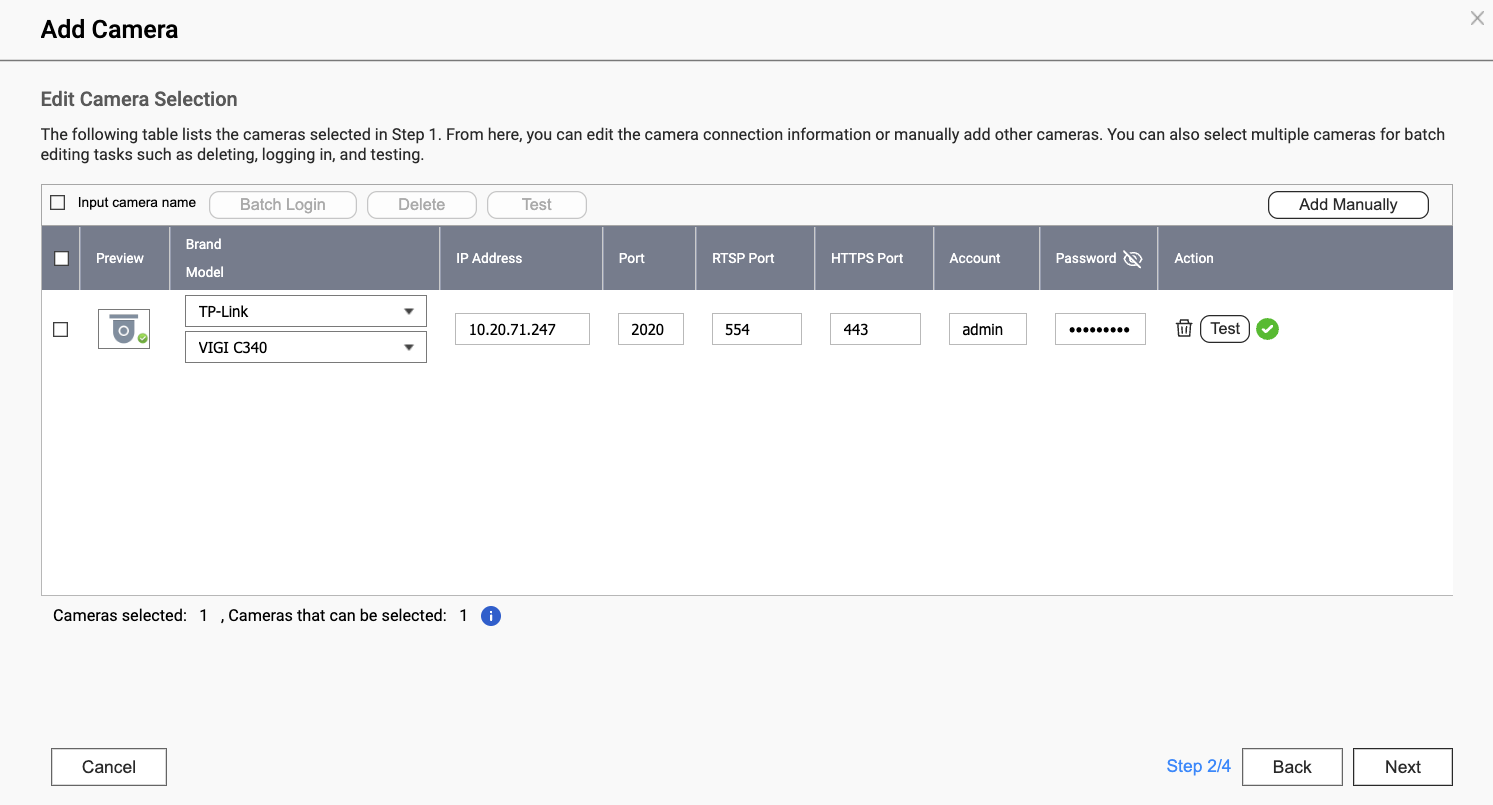
Login and Testing: Next, enter the camera’s login username and password, and perform a connection test to ensure QVR Surveillance can successfully retrieve the video stream. These credentials are stored locally and never pass through external cloud services, further enhancing the system’s security.
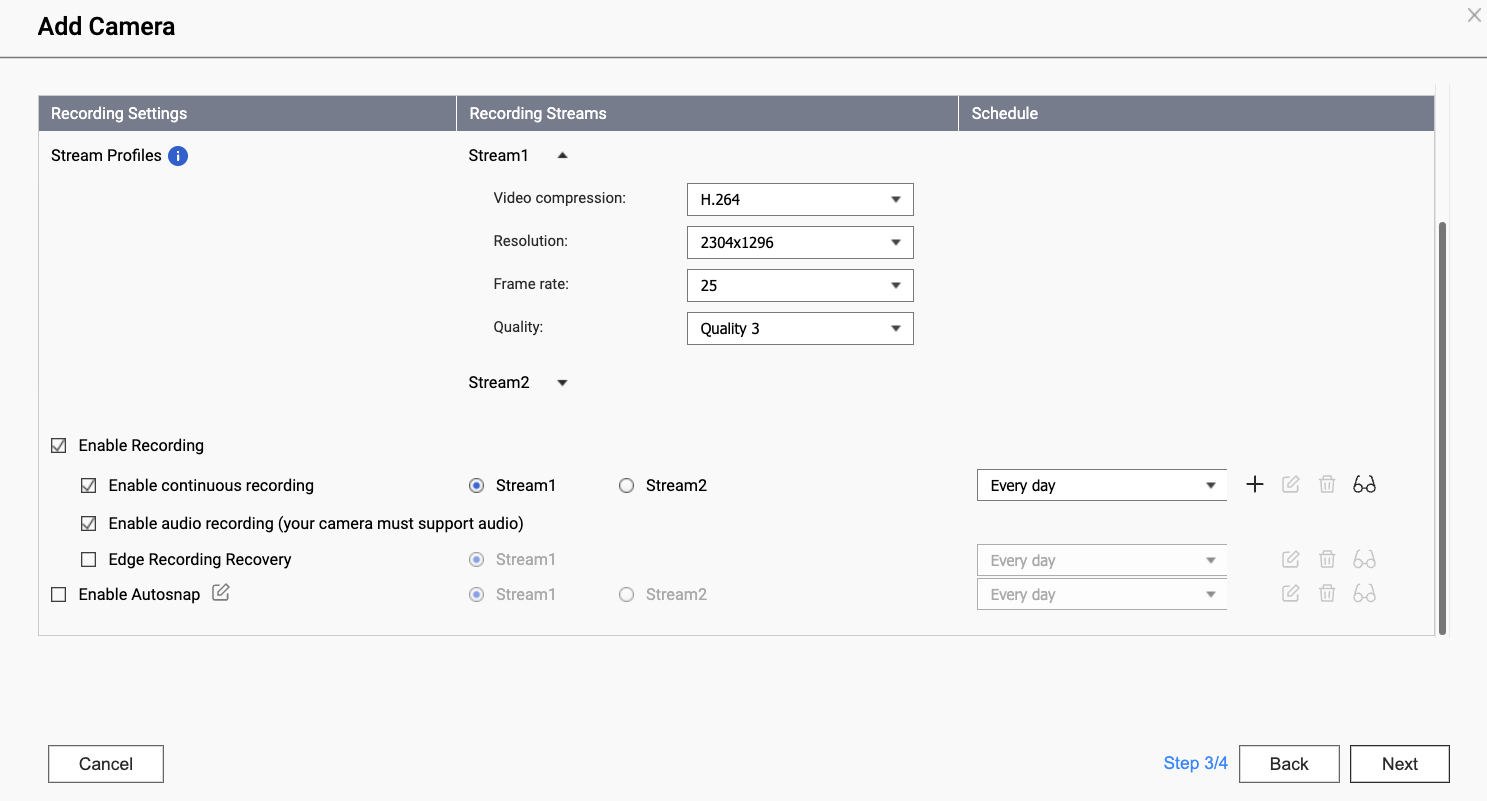
2. Advanced Recording and Streaming Settings: Balancing Flexibility and Efficiency
Image Quality and Encoding Control: In Step 3/4 of “Add Camera”, as shown above, different streaming settings can be configured based on specific recording requirements. For example, select the H.264 encoding format, adjust the resolution (e.g., 2304×1296 as shown in the image), and set the frame rate (e.g., 25 fps) to balance image quality, file size, and network bandwidth.
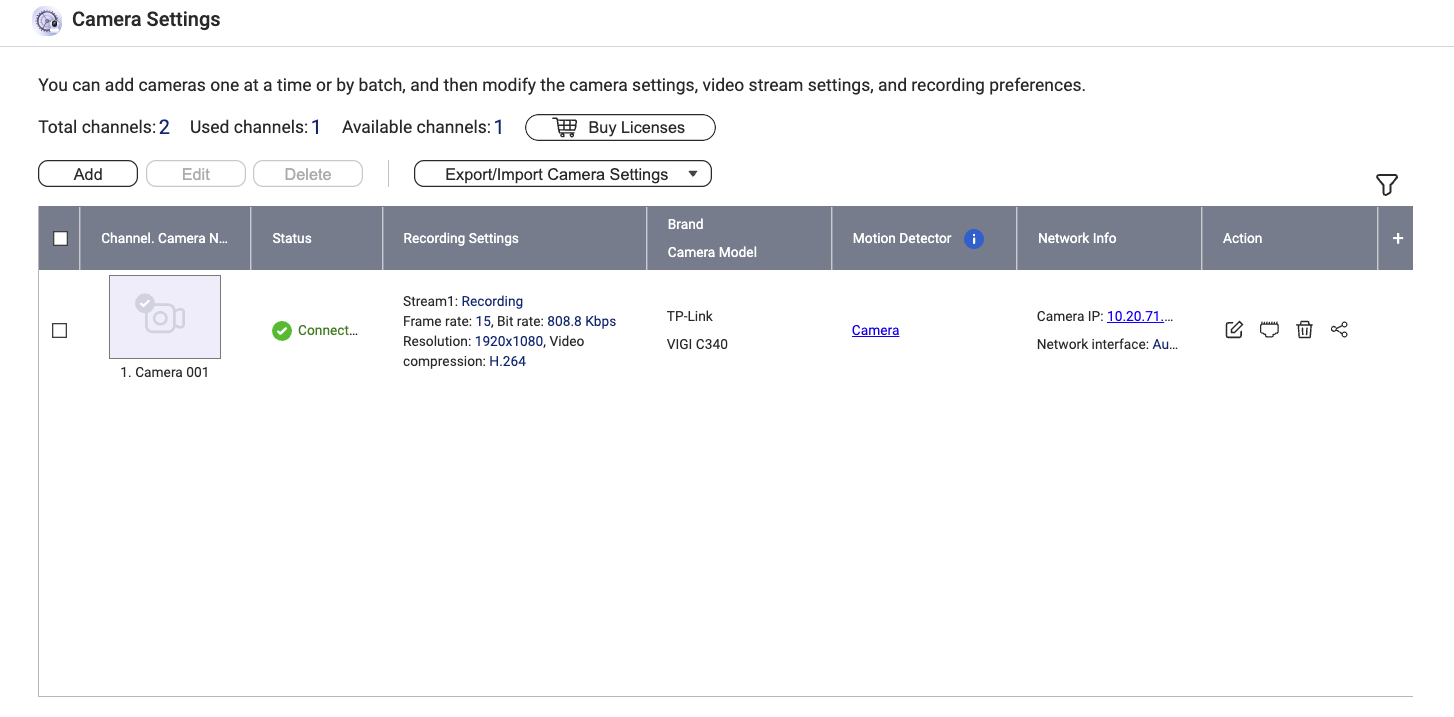
Real-Time Connection Overview: Once a camera is successfully added, detailed information is displayed on the “Camera Settings” overview page, as shown in the image below. This includes connection status, recording stream bitrate, resolution, and the camera’s IP address. One channel is currently in use out of a total of two channels, providing a clear overview for management.
The value of QVR Surveillance lies not only in recording but also in its built-in intelligent analytics. For a wide range of CCTV and surveillance camera users, these capabilities are critical for improving monitoring efficiency and responding effectively to cybersecurity incidents.
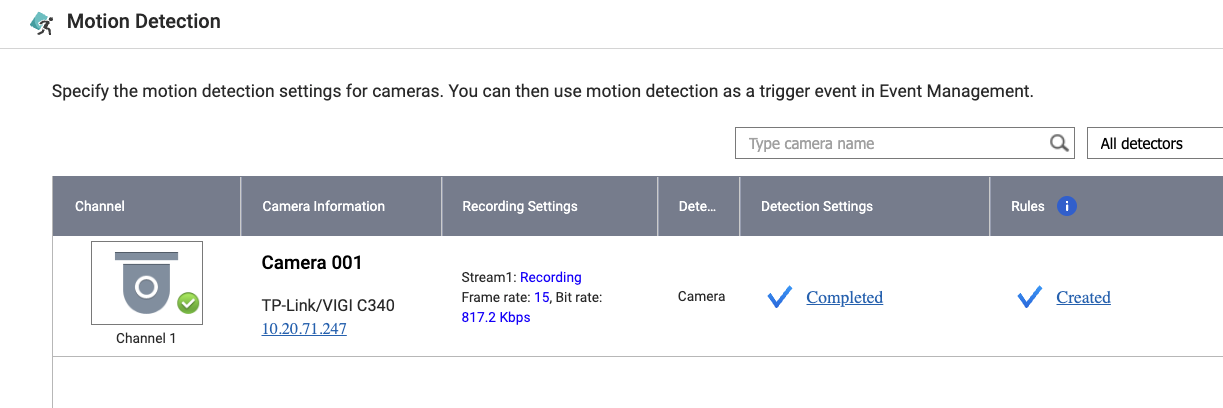
Local Motion Detection: The system features a built-in “Motion Detection” function, allowing users to select specific cameras and configure settings. Once motion is detected, these events can be used as triggers in event rules to initiate specific recording or alert actions. Importantly, all processing and detection are performed locally on the QNAP NAS, without transmitting video to public cloud services for analysis, further reinforcing our cybersecurity posture in this area.
Recording Viewer: All security recordings can be easily accessed and browsed through the “Recording Viewer”. Users can filter recordings by time and date—selecting specific years, months, and days, as shown in the image—to quickly browse camera footage. Complete local records can be accessed on demand, ensuring that evidence remains intact and never leaves the local storage.
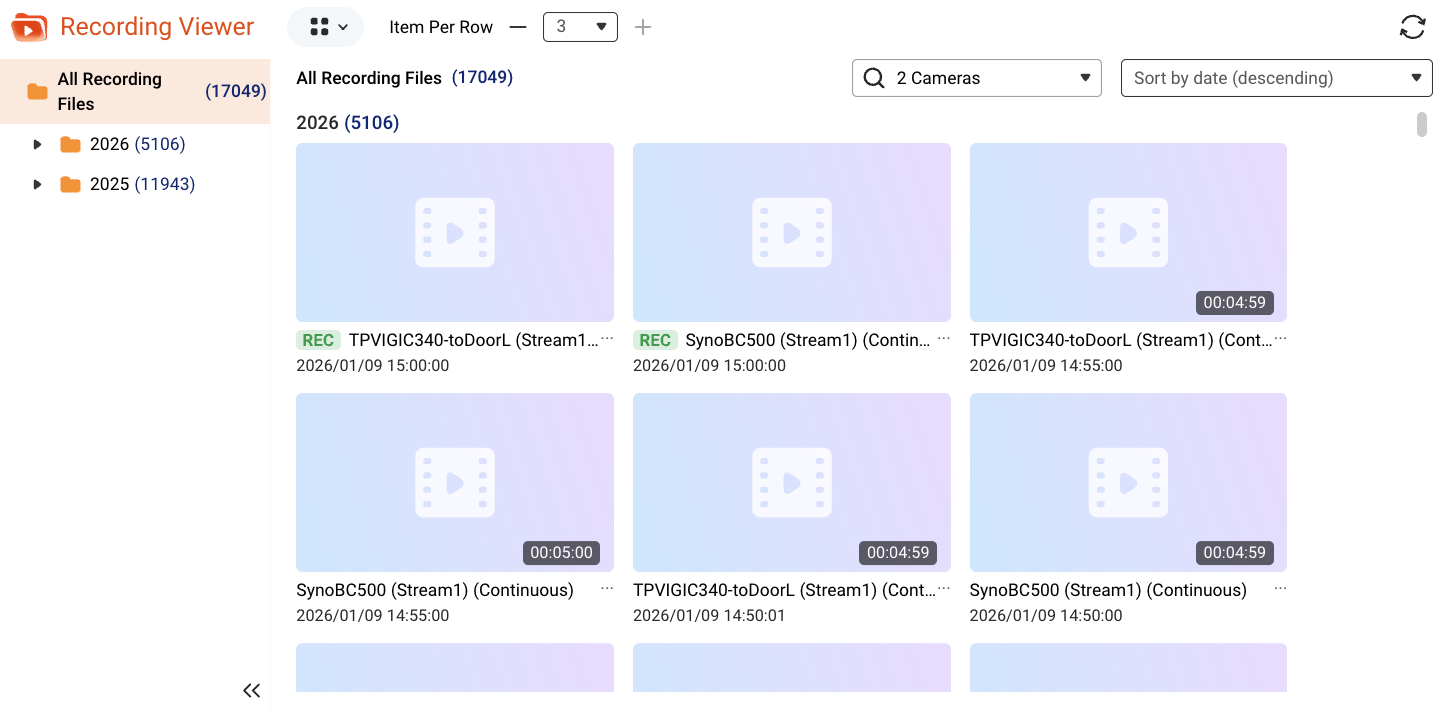
Store managers or factory supervisors can quickly locate video files based on detected human motion, and can also search through automatically saved motion-detected clips within the recordings.
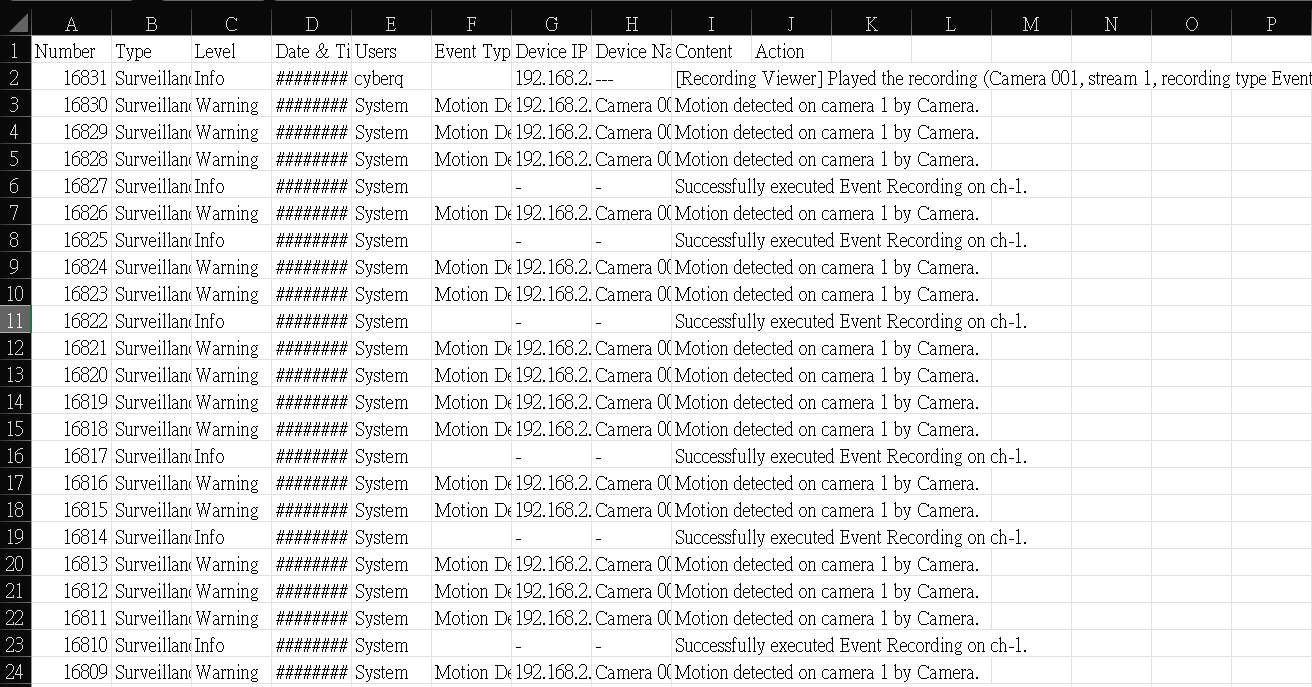
QVR Surveillance can also export motion detection logs in CSV format, making it easy to share or use in other applications.
CyberQ observes that in today’s digital age, data is an asset, and surveillance video footage often serve as critical evidence for security and legal purposes. Whether it’s offices, factory production lines, server rooms, or retail store experiencing theft, warehouse being broken into, home being burglarized, or even home invasion attacks and other illegal incidents, video recordings can be preserved as evidence to ensure legal and security integrity.
CyberQ recommends that if storage space is a concern, home setups can be configured to record only when motion is detected. This reduces daily storage usage, allowing footage to be retained for many days. With CyberQ’s current use of QVR Surveillance on QNAP NAS, recordings can be stored for an entire year without issues. This approach also meets the security retention requirements of many organizations under ISO 27001-related management system standards for 3 months, 6 months, or longer.
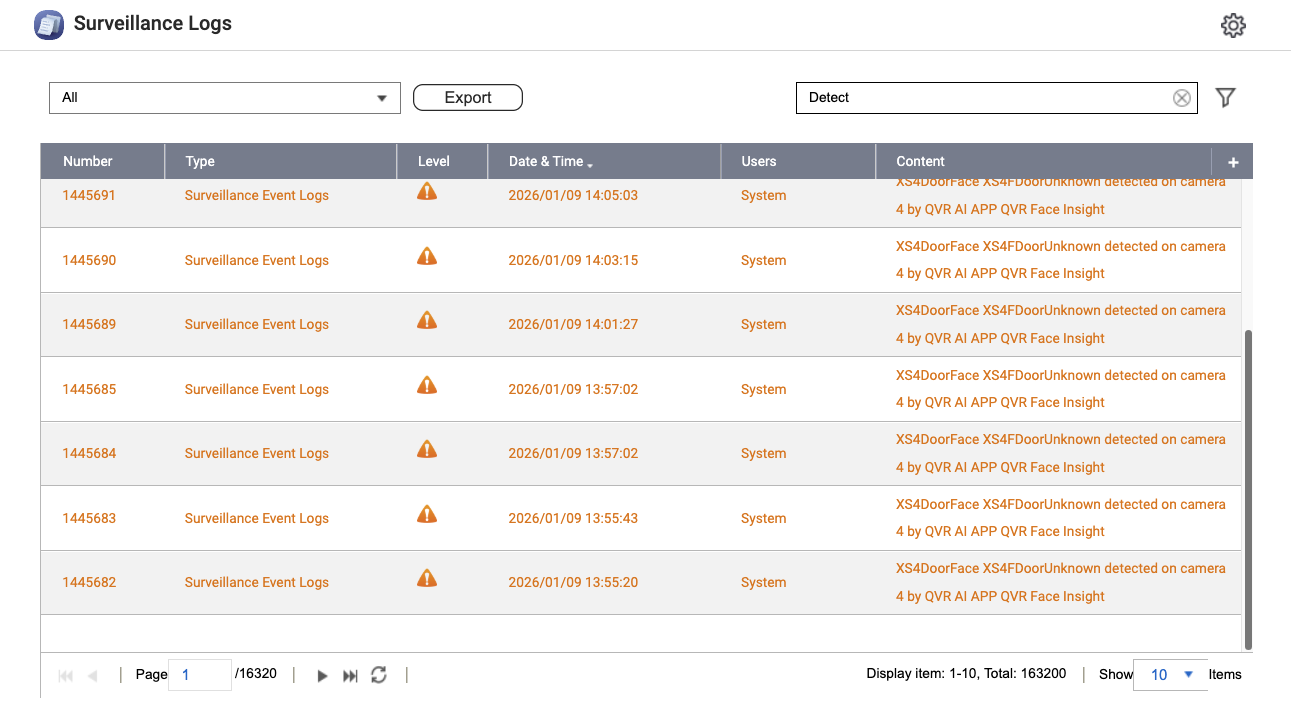
In more critical surveillance environments, a higher-capacity NAS is required, along with the option to configure 24/7 continuous recording. Even in this setup, human motion detection logs are still available, allowing users to quickly locate specific timeframes, as shown in the image above, and then review the corresponding recorded footage.
Additionally, Chinese-brand surveillance cameras like TP-Link often support mobile app connectivity. As mentioned earlier, these devices can automatically upload footage to cloud services of various providers such as AWS, with no information on when cached files are deleted. For example, CyberQ tested TP-Link cameras sold in the Taiwan market, and footage were automatically transmitted to the company’s AWS data center node in Singapore.
To ensure that no data is transmitted externally, in addition to managing cameras through an ONVIF-compliant NAS or your own computer, you must configure rules on the routers and firewalls in your office, factory, or home to block all outbound connections from the device, preventing external parties from connecting to it.
Under this configuration, all external connections from the device are blocked; yet you can still access and play back footage stored on the NAS via the QVR App on your mobile device while in your office or at home. In other words, if you connect back to your office or home network via VPN and the configuration is properly set, your VPN-enabled device can access cameras that are otherwise limited to internal network access only. Although this approach may be slightly less convenient, it significantly enhances the overall security of your environment.
QNAP QVR Surveillance integrates the high security of local storage, strong ONVIF compatibility, and intelligent event management features, providing a complete and fully user-controlled video surveillance solution. Considering the factors discussed earlier, it is a good choice.
It allows users to fully control the security records of their surveillance cameras. In today’s environment, where cybersecurity awareness is gradually being implemented and strengthened, it is an ideal solution for many companies, professional users, and households seeking to ensure that “sensitive information, video footage, and personal data remain local and are not transmitted externally”.
Reposted with permission from CyberQ.com