Categories
Today, we will be focusing on the basics – how to integrate the QNAP NAS into your daily workflow as a creative user. Owning a Mac is more than it seems since for some people it seems simple and often regarded as the “easy-to-use” computer. But for those who rely their lives on a Mac or multiple Macs, understand how intuitive it is and its important stance of our digital lifestyles. I’m not saying that owning a Mac makes you creative user, but as blunt as I may sound, many Mac users appreciate design(either the product itself or in general), and how seamless the integration it is between its creative applications.
Why do you need a QNAP? Well here is a quick table pointing out some differences in the different types of backup/storage devices that are often seen and used today. With a QNAP NAS, you get much more storage capacity, data protection(RAID), abilities to collaborate, file share and remote access. Life is easier when there’s no need to transfer files through a USB dongle, or external hard drive.

Today we will be going over on some simple demonstrations and scenarios on how to integrate a NAS into your digital lifestyle.
Scenario A.
You are an artist and you create artwork for a living and often uses software such as Adobe illustrator, and sometimes edit photos and images with Adobe Photoshop. You would often find yourself playing with Ai during your spare time and find it fascinating how your brain suddenly becomes more creative when it’s not at work. You save your files onto your personal Mac and under your local folder. Next day, you arrive at work and you forget that your file is saved onto the Mac at home, not anywhere else such as Dropbox or Google Drive.
Solution:
Instead of paying monthly fees you would pay a one time fee (the QNAP NAS).
One year of Google Drive and Dropbox for 1TB of total storage is $9.99 x 12 = ~$120.
$120 a year on fixed storage of 1TB is pretty expensive, as you would end up having to delete some files to not go over 1TB. When you save a video of 120MB+ or more, you would have to use that disk space on your Mac at home and work for that particular file. The public cloud services give you convenience but does not save your Mac’s capacity, and along those lines it is not 100% private.
Google Drive Dropbox


Suggested workflow(that may work for you)
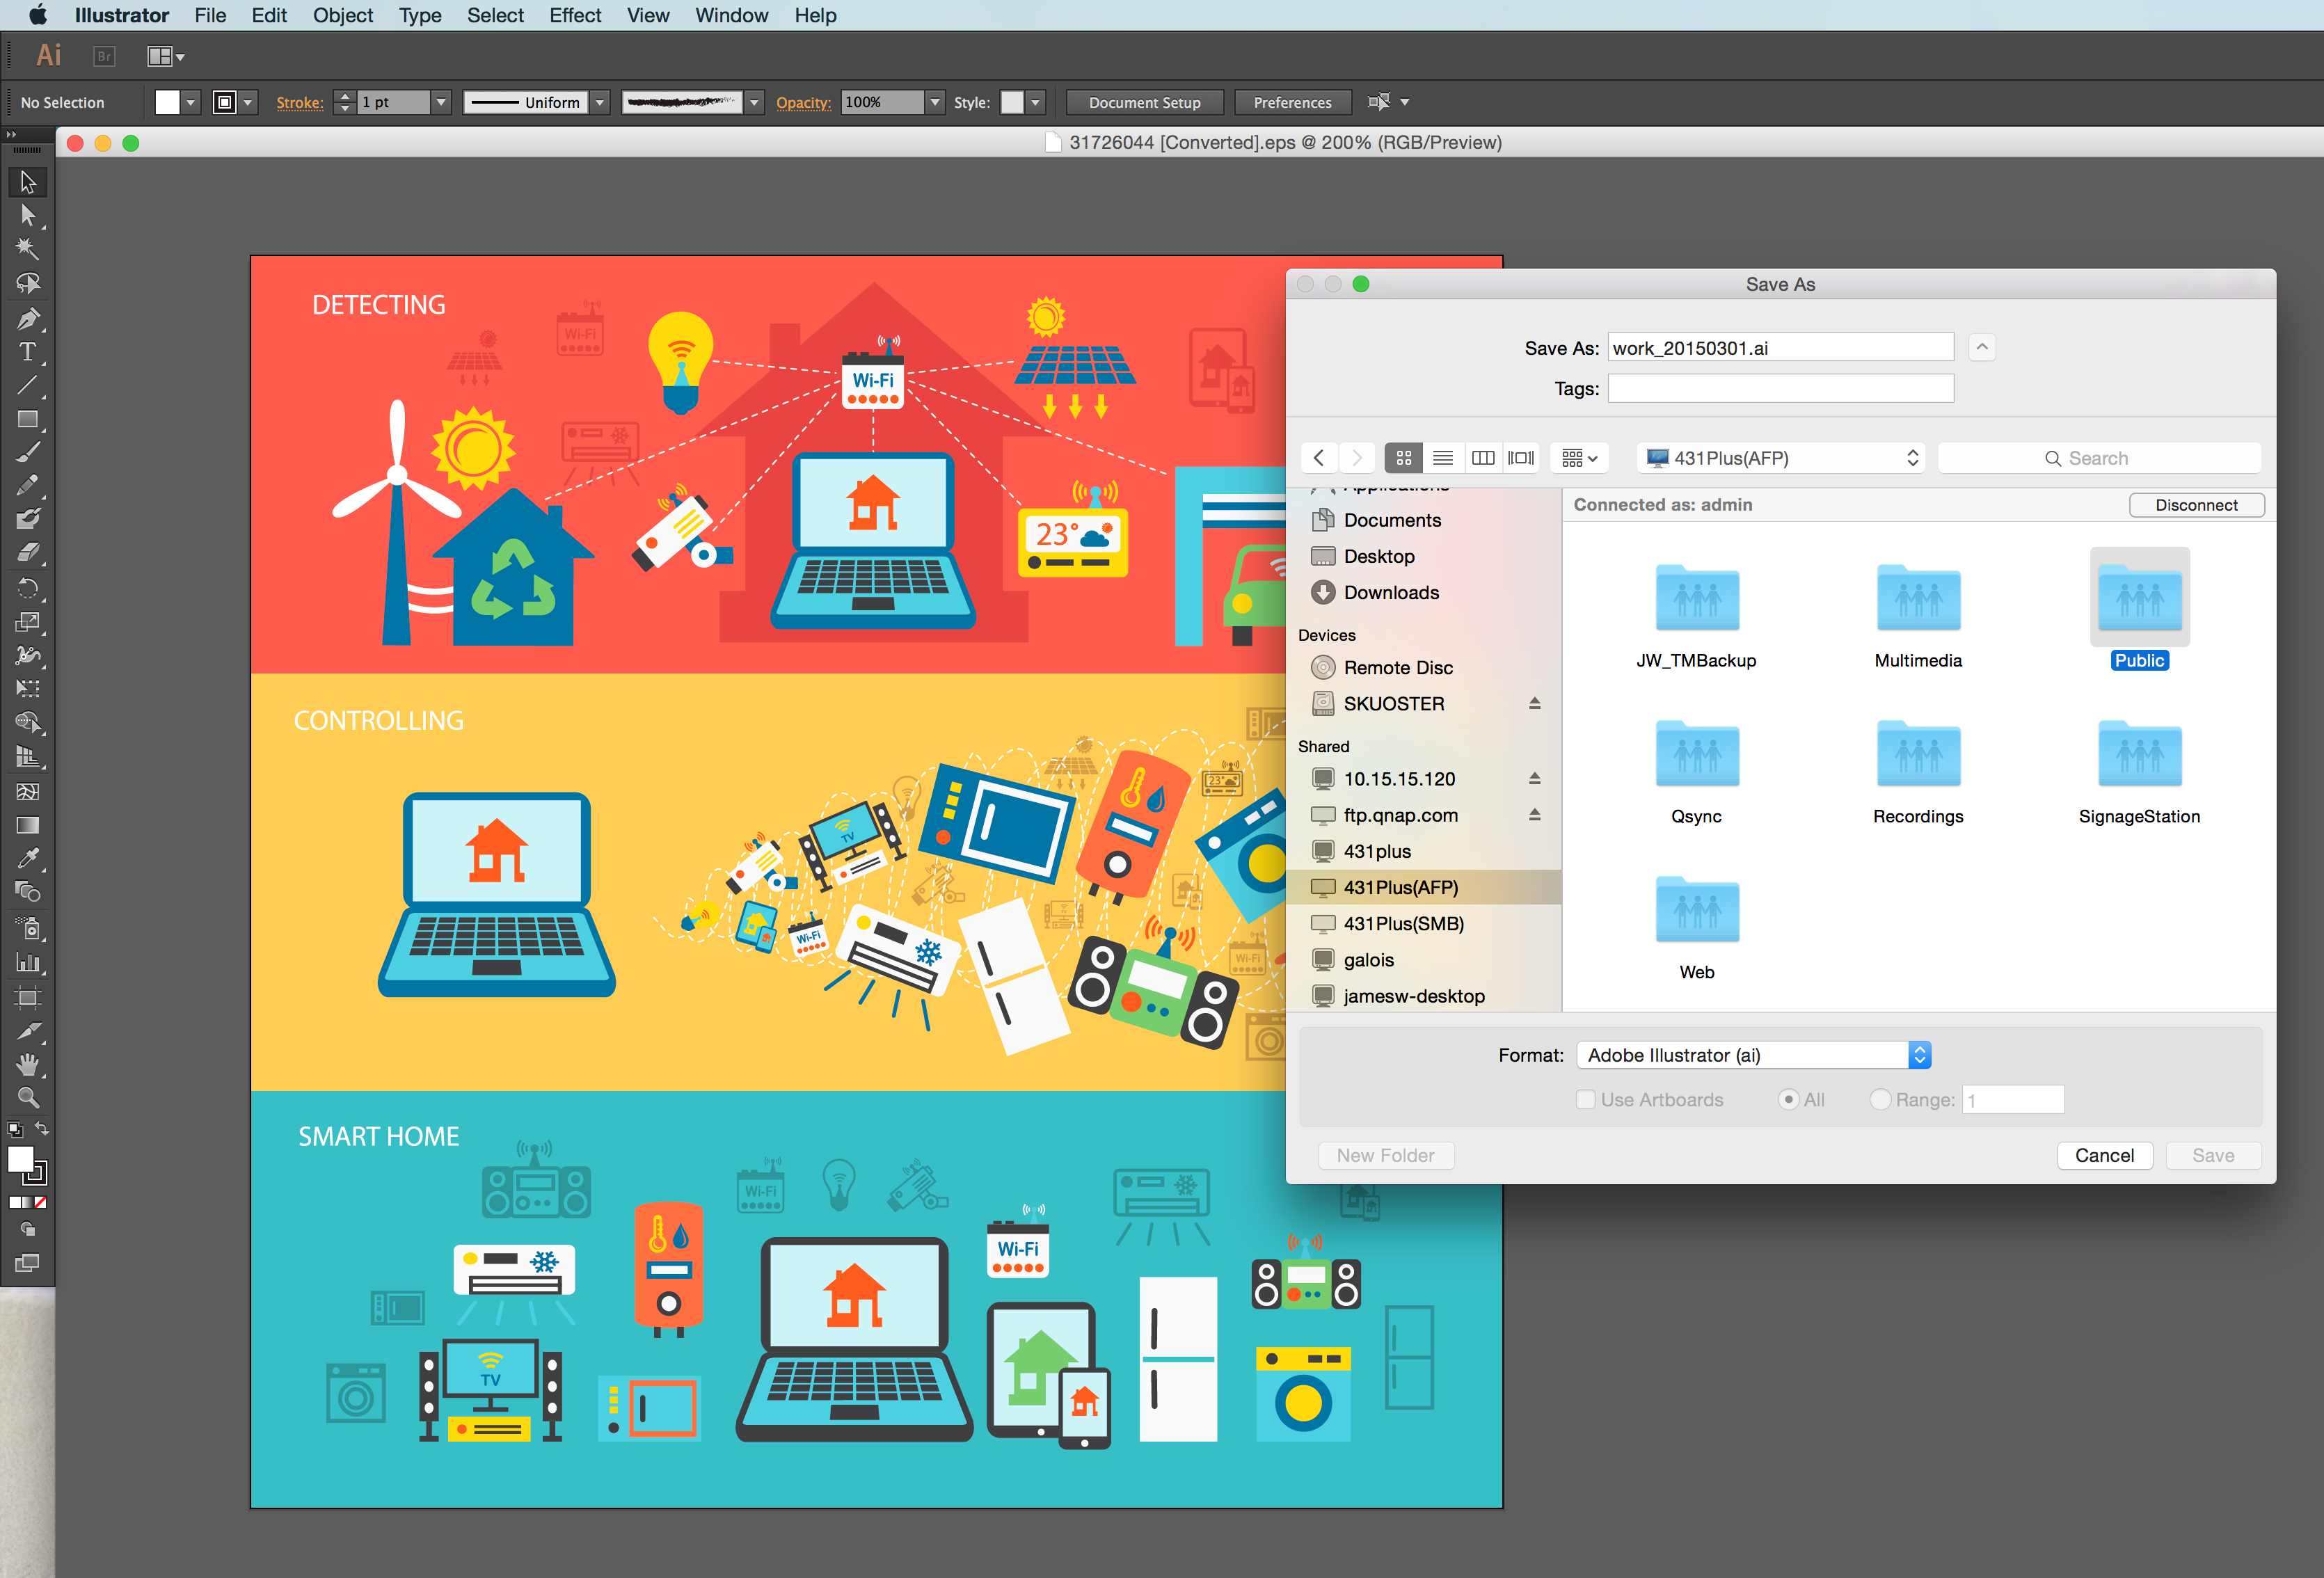
The QNAP NAS would be useful in this situation. Simply save your files onto the QNAP, and by using FTP, SMB or AFP you could easily access your files on the NAS(stationed at home or work) whenever you want. E.g. Save file under “shared” -> find your NAS name, in this instance mine was called 431Plus (AFP). Note: AFP is the native protocol that offers file services for Mac OSX.
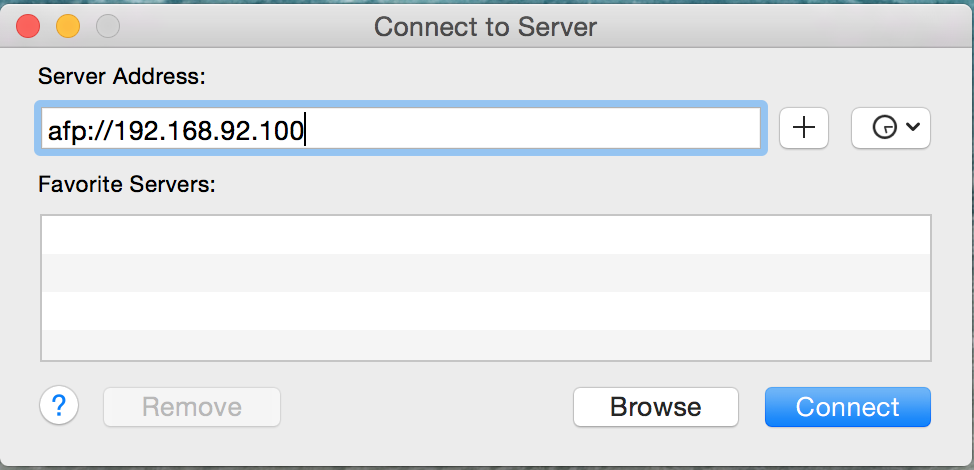
On your Mac, go to the top and click “Go” and then “Connect to Server”
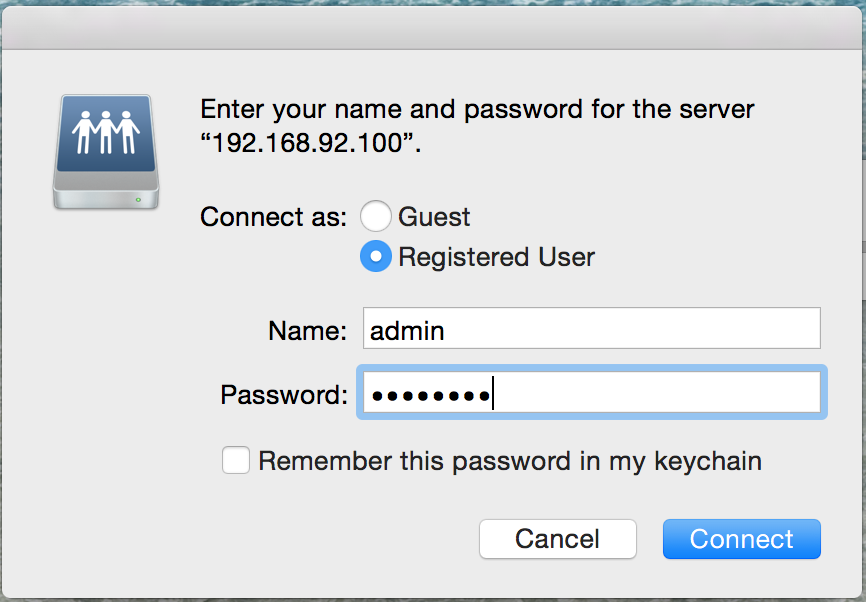
After hitting “Connect” you will have to enter your login credentials. Enter your NAS username, default admin and password is whatever you’ve set.
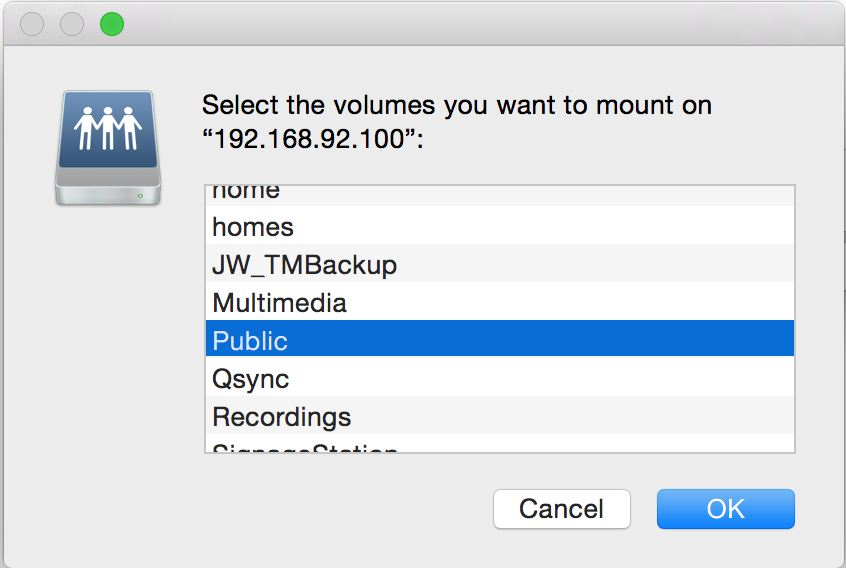
Select which folder you’d like to go to and when connected to your server, you can then save your file onto the NAS.
After saving the file onto the QNAP NAS, you would then be able to access this file anywhere you want, and either download it to your local workstation, or edit on the spot.
If you want to connect NAS to your Mac directly with Ethernet, I wrote a post to explain. For QNAP, launch Qfinder before NAS to find IP. https://amigotechnotes.wordpress.com/2015/03/05/connect-nas-to-your-mac-directly-with-ethernet/
Anywhere in Finder, Cmd+K also brings up the Connect to Server-dialog-box.
Hi
thank you for writing such comprehensive and reassuring information on this blog. (Your comment above about being able to
I have a quick question please:
If I have a QNAP NAS with a 10GbE port, but my iMac only has a 1GbE port, can I connect via the iMac Thunderbolt 2 port?
(Example: get a Thunderbolt-to-10GbE adaptor, and connect the iMac to the QNAP 10GbE port using this connection).
Please let me know
10 Gbe switch to a Sanlink2 10 Gbe bridge and thunderbolt 1 to a MacBook Air
https://www.youtube.com/watch?v=jsUOsg3sNpU
Thanks S. Kuo!! This is exactly what I was looking for. I didn’t have the afp:// written in front of the IP address and Time Machine could not find the drive. Well done with your explanation!!
I have a Mac attached to external drives and would like to use Qsync to backup the external volumes to my QNAS, but it doesn’t seem possible. I try to map a volume to a folder on the QNAP, but it gives me an error code. I tried to put an Alias of the volume in the Qsync folder, but to no avail. What’s the easiest way to do this?
Is there a service at Qnap where I can hire a tech to work on my system remotely? Allowing me to watch and learn at the same time? I shut down my new Qnap for several months and in the mean time have perhaps upgraded my OS X. Now Qnap doesn’t see the NAS (TS-453be). I might be able to struggle through a great deal, but I can’t get to step 1 on this page. And this is Mac 101. Oh dear.
Hi Don, please go to https://service.qnap.com/ and open a new support request. Our engineers will then be able to help you resolve the issue you’re experiencing. Thanks!
Which driver do I use for my Mac mini….to be able to use QNAp