Categories
Blog posts about QNAP's products and technologies.
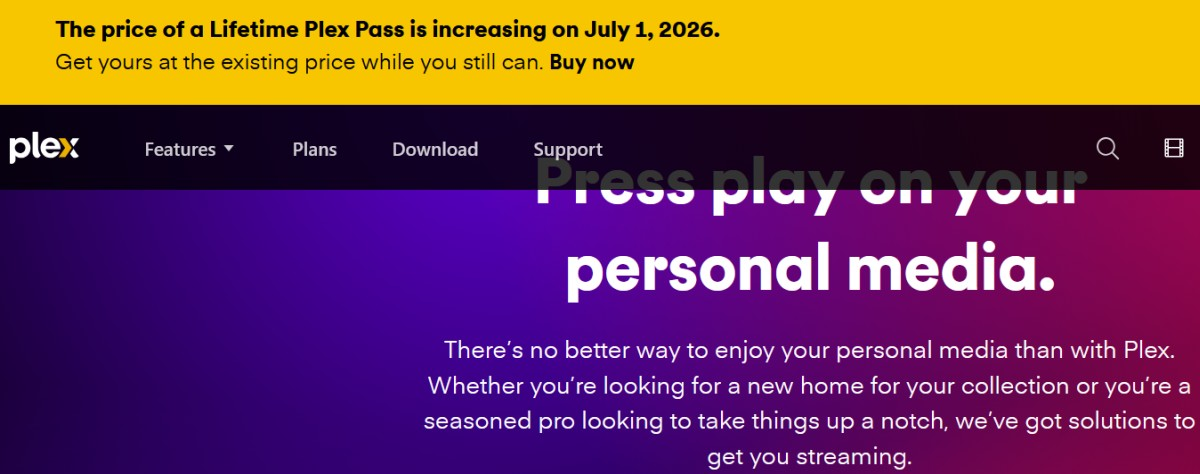
As home media streaming becomes increasingly popular, building a dedicated private cloud media server has become a must-have for many tech enthusiasts. However, one of the most widely discussed topics in the digital home media community recently has been the lifetime license for the well-known media server software Plex Pass, which is expected to see a significant price increase starting in July 2026, jumping from US$249.99 to US$749.99. Faced with such a dramatic price hike, many undecided users have begun looking for alternatives, and the fully open-source, free Jellyfin has naturally emerged as one of the most compelling options.
In the past, deploying Jellyfin on a QNAP NAS typically required a certain level of knowledge of NAS systems and container usage. Users had to manually launch Container Station and configure a range of complex Docker settings themselves, including environment variables and network ports, while also handling folder mount paths and permission settings. These complicated steps were often the main challenge for users installing Jellyfin for the first time. However, developers have now introduced a new and highly simplified installation method that makes the entire deployment process as simple as installing a regular app.
Based on hands-on testing and observation, the key to this approach lies in a specially designed QPKG script package. Before getting started, users only need to ensure that Container Station is installed from App Center on their QNAP NAS. All of the deployment and configuration tasks are then performed automatically in the background, while the solution itself remains built on container technology. In effect, the package bundles everything together and takes care of the basic system configuration on the user’s behalf. Once installation is complete, users simply need to specify the folders where their media files are stored.
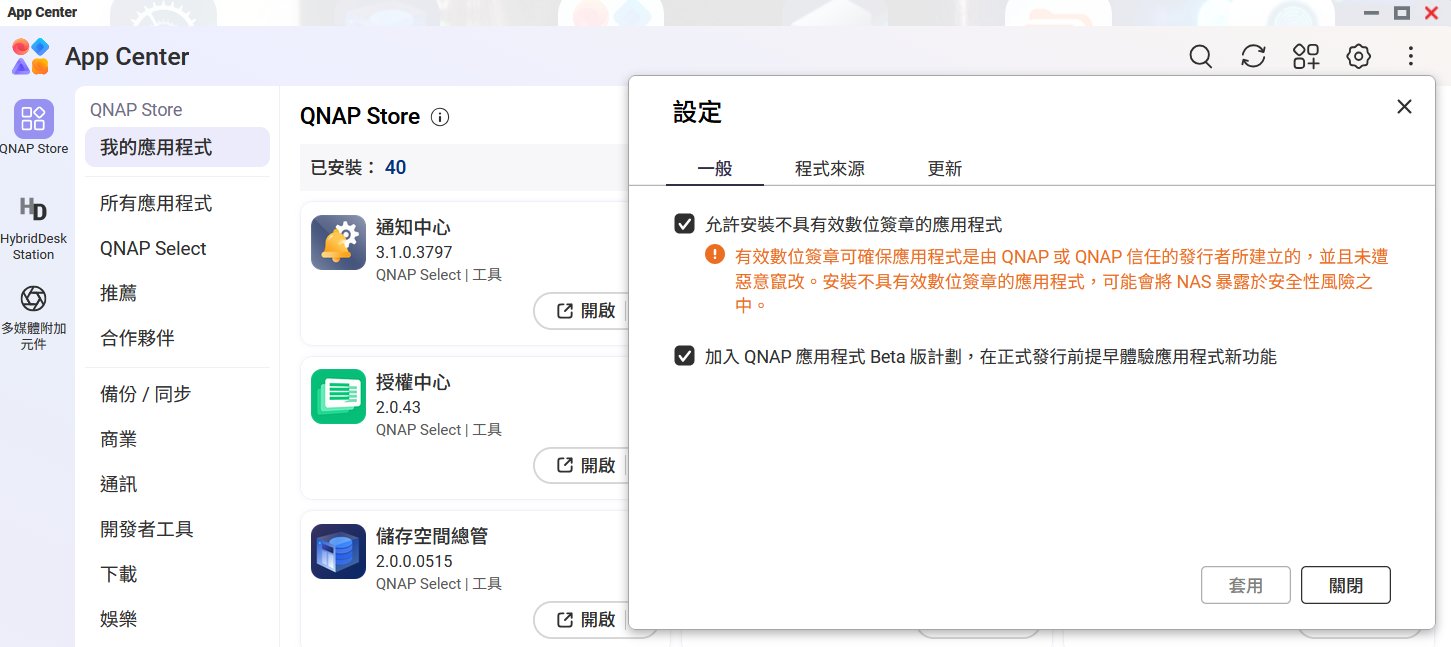
To successfully install third-party software that is not available through the official App Center, users must go to the App Center settings and enable the option to allow the installation of applications without a valid digital signature. While enabling this option may trigger a security warning, the project is fully open-source and its source code is publicly available on GitHub, providing a high level of transparency. As a result, users may feel more confident about its security and compliance. Nevertheless, it is still advisable to check the latest updates and announcements on GitHub and verify everything before proceeding with the deployment.
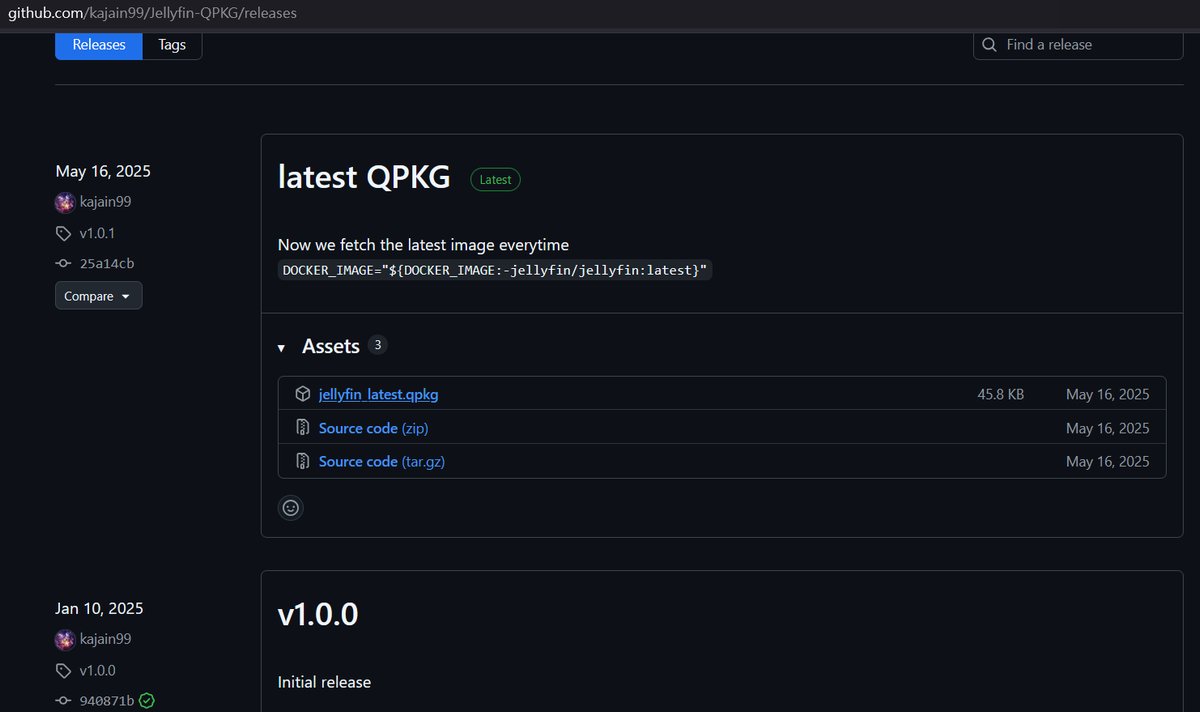
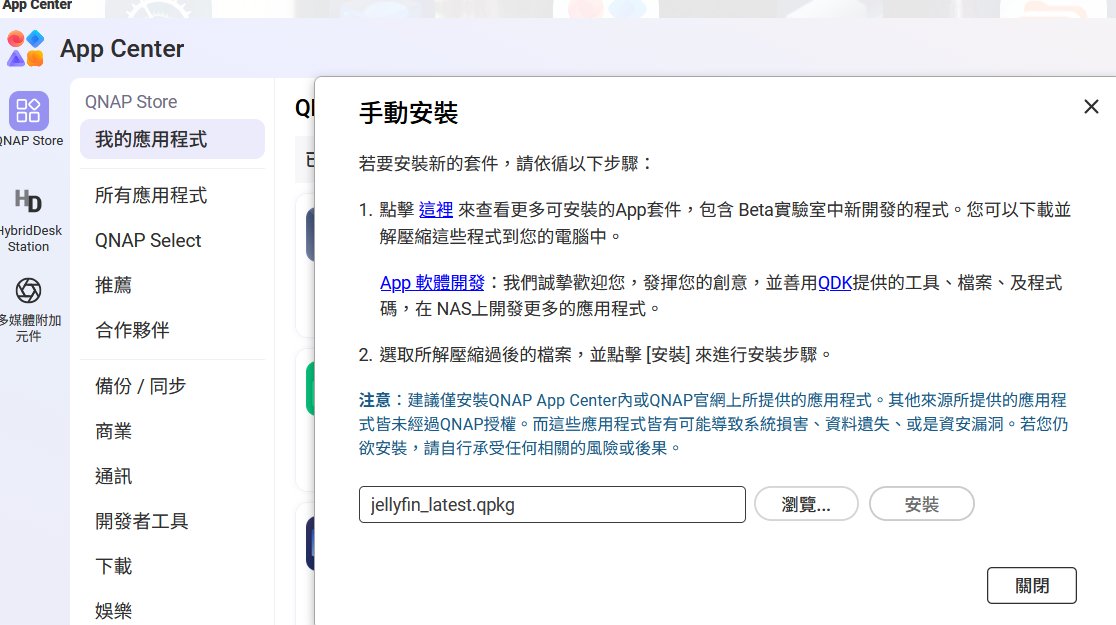
Once the setup is complete, users can visit the developer’s GitHub repository and download the dedicated QPKG package. After downloading the package, return to QNAP’s App Center, click the Manual Install button in the upper-right corner, and select the file you just downloaded.
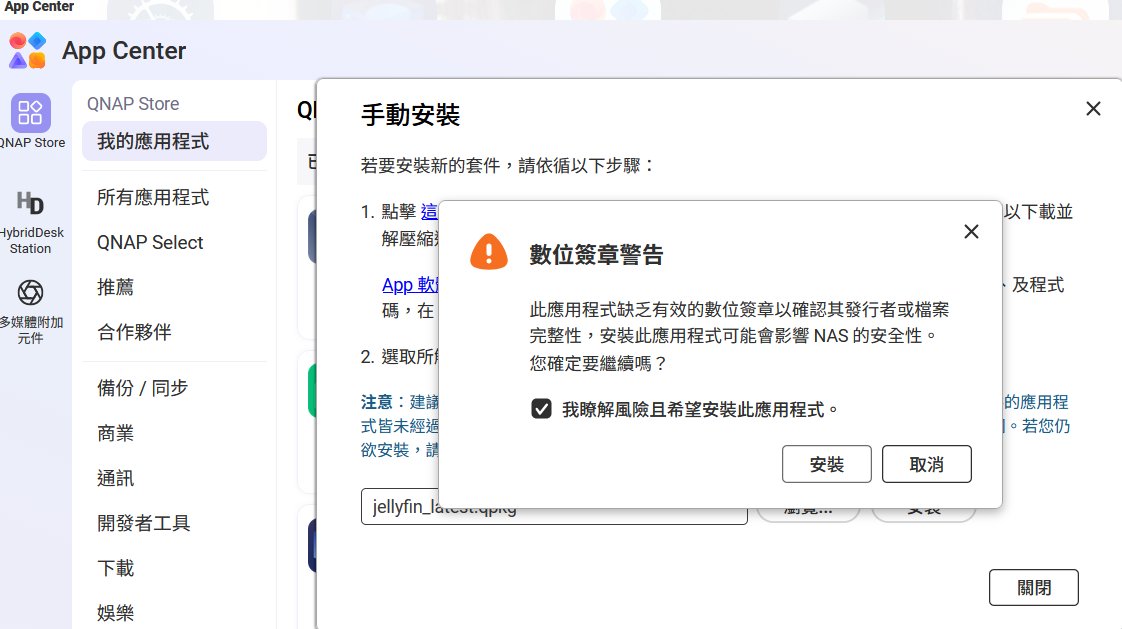
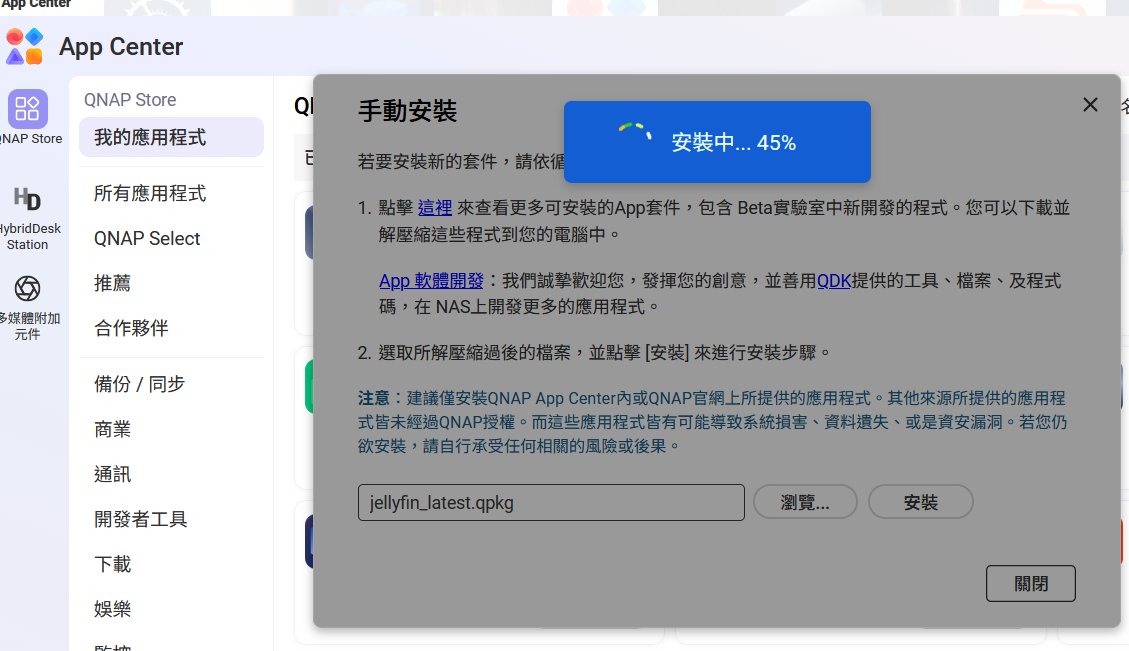
At this point, the system will again display a security warning indicating that the package is not digitally signed. After confirming, the built-in streamlined installation script will automatically pull the latest official Jellyfin image from Docker Hub in the background and complete all initial container configuration setup. The entire process requires no manual adjustment of Container Station’s complex settings, greatly reducing the risk of user misconfiguration.
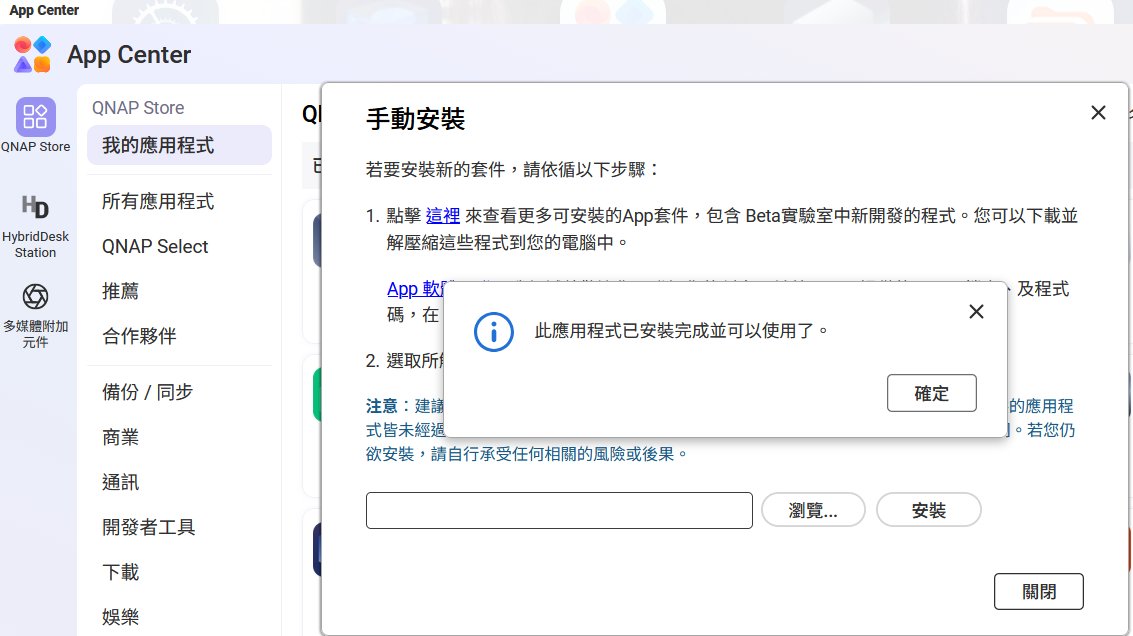
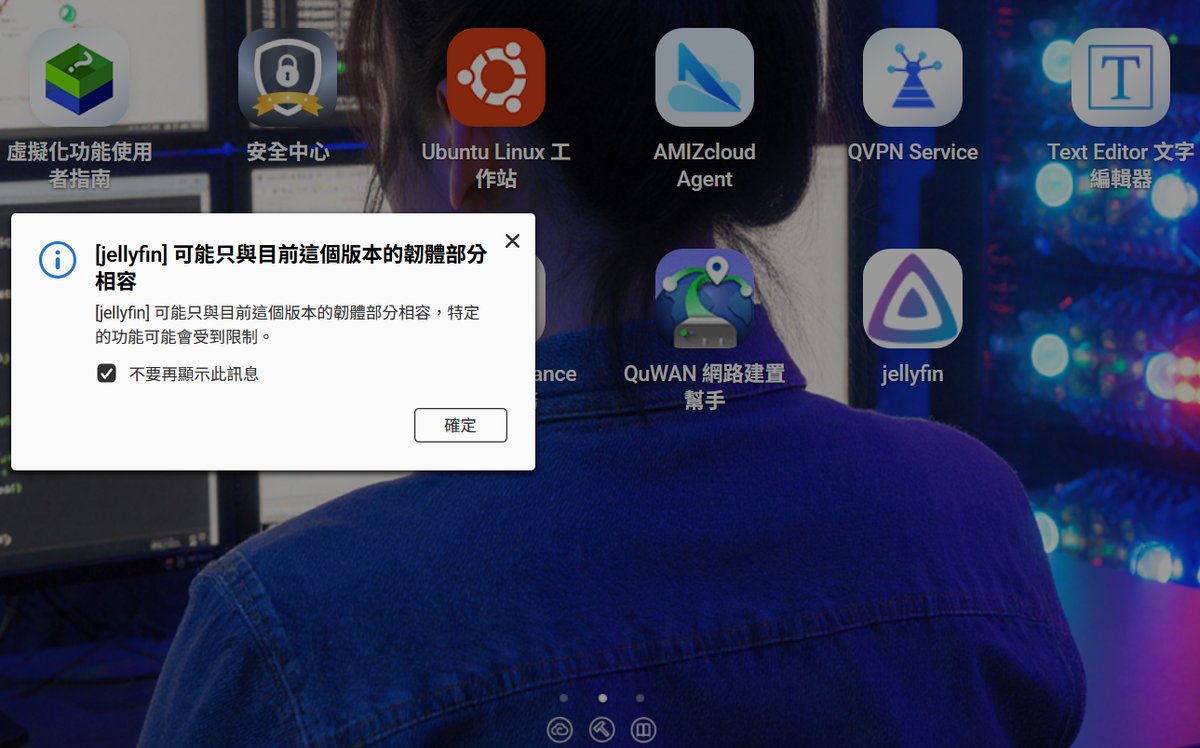
Once the system confirms that the installation is complete, users can simply click the icon to open Jellyfin’s web-based management interface. For any subsequent dialog boxes that appear, simply click OK to continue.
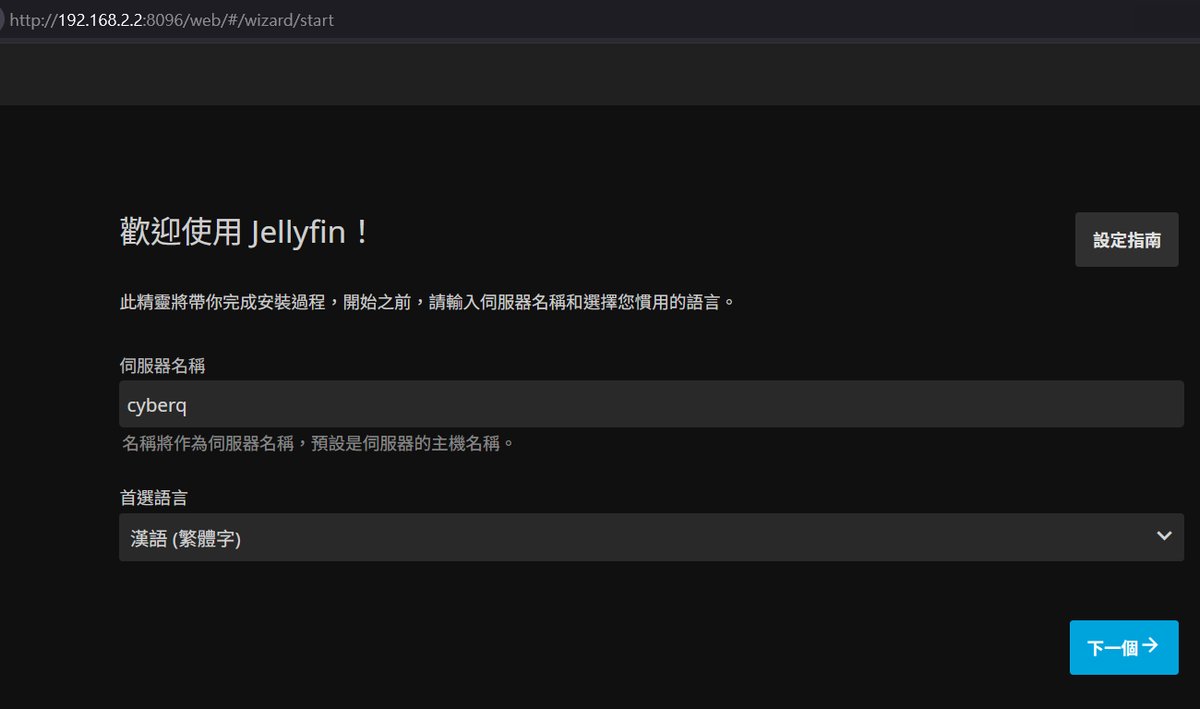
If the screen remains stuck on the server selection page when first entering the system setup wizard, manually entering the correct URL with the appropriate port number can trigger the initial setup wizard.
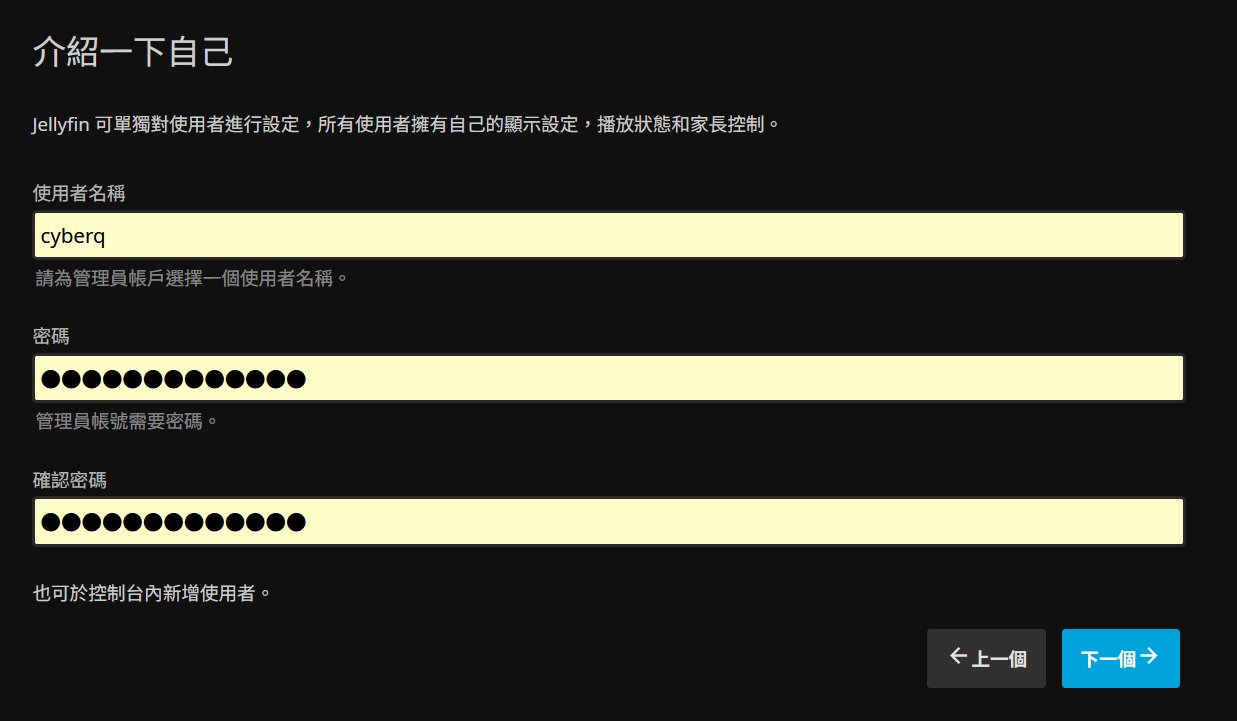
After setting up the administrator account and password, the next key step is to import your multimedia entertainment content. The advantage of this QPKG script is that, during background execution, it automatically mounts all shared folders on the QNAP NAS into specific paths inside the container. As a result, the necessary folder permissions are already configured. When adding folders, users can simply select their Music, Movies, or TV Shows folders from the dropdown menu.
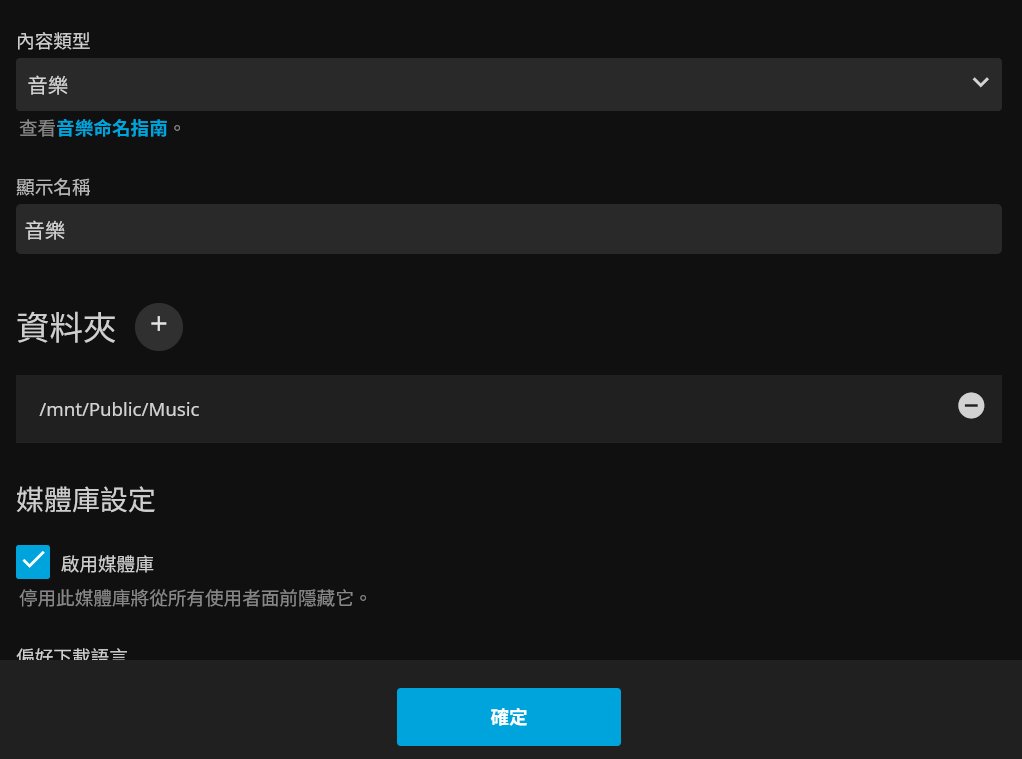
When users click Add Media Library and browse for folders, they can navigate to the internal directory to view all the shared folders stored on the NAS.
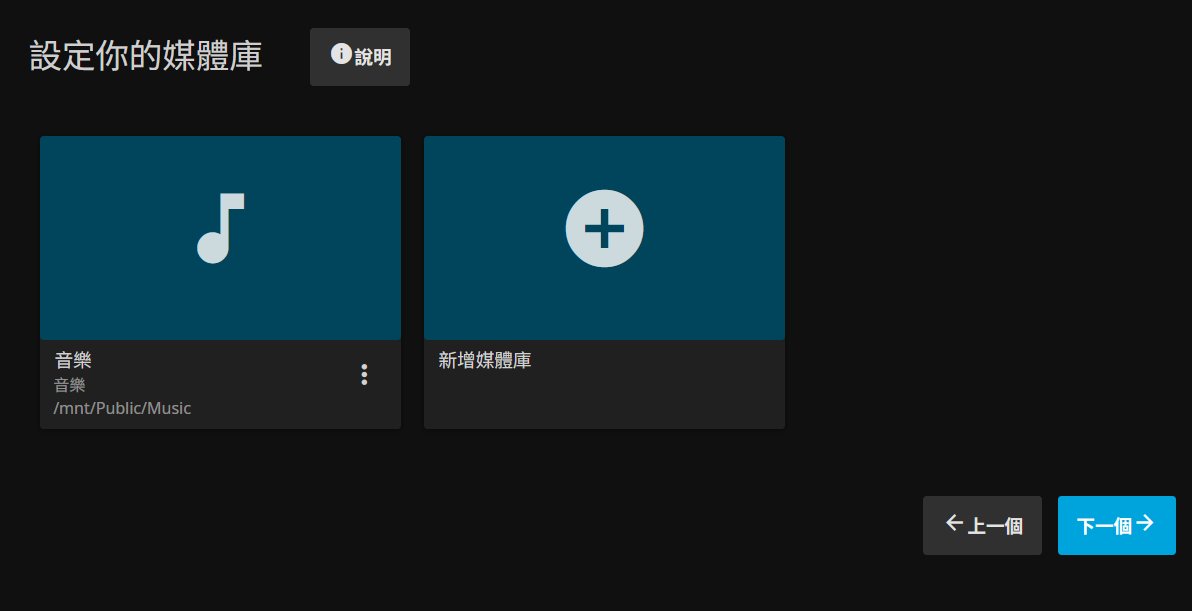
Whether it’s folders containing movies, TV shows, or music, they are clearly visible and can be selected directly, eliminating the tedious process of manually mapping directory paths.
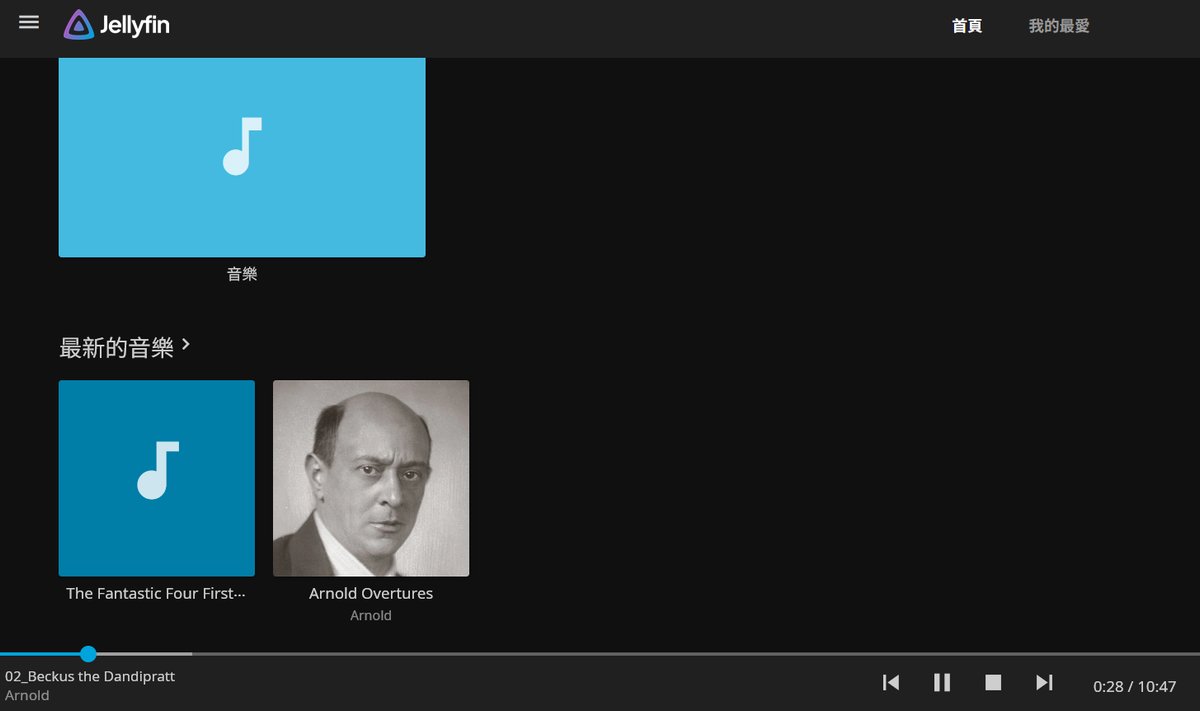
After completing the language and remote access configuration through the setup wizard, users can log back in to Jellyfin using the credentials they just created, activating their personal Jellyfin media platform. If the option to fetch data from the cloud is enabled during setup, the platform automatically retrieves and gradually loads cover artwork for music and movies, which is very convenient. You can also edit them directly within the interface.
Another advantage of Jellyfin is that it can be accessed via the Chrome browser and cast to audio devices or TVs, offering great convenience. For users seeking a smoother and more integrated viewing experience, Jellyfin’s greatest strength lies in its rich app ecosystem. Dedicated apps are available for smartphones, tablets, TV boxes, smart TVs from major brands, and even game consoles. However, with a QNAP NAS, you can centralize all your media files on the NAS and make them available to devices throughout your home.
Jellyfin is a fully open-source project. Beyond the official version maintained by the official team, the global developer community has contributed numerous third-party applications featuring more polished interfaces and improved decoding performance.
| Supported Platforms | Official Apps | Popular Third-Party Options | Features & Recommendations |
|---|---|---|---|
| Mobile Devices (iOS / Android) |
Jellyfin Mobile | Findroid (Android-only), Streamyfin (recommended free iOS app), Finamp (music-focused) | Stream on the go using smartphones and tablets. Findroid offers a smooth native interface experience, while Finamp turns your NAS into a personal music streaming platform you can access anywhere. |
| TV & TV Box (Android TV / Apple TV / Fire TV / Roku) |
Jellyfin for Android TV, Swiftfin (Apple TV-only) | Infuse (premium media player for Apple ecosystem) | Turns your living room TV into a home theater system. On Apple TV, many advanced users choose to pay for Infuse because of its smooth performance and strong media decoding capabilities. |
| Leading Smart TV Brands (Samsung Tizen / LG webOS) |
Jellyfin for Tizen、Jellyfin for WebOS | None | No external TV box is required. Simply open the built-in app store on your smart TV to search for and download the official app. |
| Desktop (Windows / macOS / Linux) |
Jellyfin Media Player | Feishin (sleek music player) | After installing the dedicated desktop application on a PC or laptop, users can directly leverage the GPU for hardware-accelerated decoding, delivering more stable performance than a web browser when handling high-resolution 4K video content. |
To connect a dedicated Jellyfin client app on a TV box, or Infuse on iOS, to a Jellyfin server hosted on a QNAP NAS, the core principle is very simple: only two key pieces of information are required: the connection URL for your QNAP NAS server at home, and your personal account credentials. Regardless of the application used, connection scenarios generally fall into two categories: local area network (LAN) at home and remote access outside the local network.
When all devices are on the same local network at home, the connection process is the most straightforward. After opening the official Jellyfin app on different platforms, the system will usually automatically search for servers on the same network. If the system does not automatically detect the server, users can click to manually add it and enter the QNAP NAS’s local static IP address and the default port for Jellyfin. For example, enter the URL http://192.168.2.2:8096. Next, the system will prompt users to enter the username and password created during the initial setup. Once authentication is successful, they can immediately access the media library.
However, when users are away from home with their mobile devices, or want to access movies and TV shows stored on the NAS from a remote location, they need to deal with external network connection issues. From an information security and protection perspective, exposing port 8096 directly to the internet via router port forwarding can create significant security risks and should be avoided.
If users need to access their home media server while away from home to listen to music or watch videos, a more secure approach is to use a virtual private network (VPN), such as deploying Tailscale or WireGuard on both the QNAP NAS and mobile devices. When away from home, simply connect to the VPN first, so your mobile device or laptop will behave as if it were on the home local network, allowing you to securely access Jellyfin via the VPN-assigned internal IP address.
Another common advanced approach is to use a reverse proxy or a web edge security service (such as Cloudflare), combined with automatically renewed SSL certificates, to wrap the connection URL into a secure HTTPS encrypted domain. As a result, whether using Infuse or the official Jellyfin apps, users can access their media from anywhere at any time, as long as they change the server address to the secure HTTPS domain, enabling a smooth and secure media streaming experience that does not require any NAS transcoding resources.
Faced with the high pricing of Plex Pass, switching to the open-source ecosystem not only significantly reduces licensing costs but also makes previously complex container deployments much more approachable through a streamlined installation process. If you are also affected by rising licensing costs for media platforms, you can use this approach to easily upgrade your QNAP NAS and enjoy a fully self-hosted, free private cloud home theater system.
Reposted with permission from CyberQ